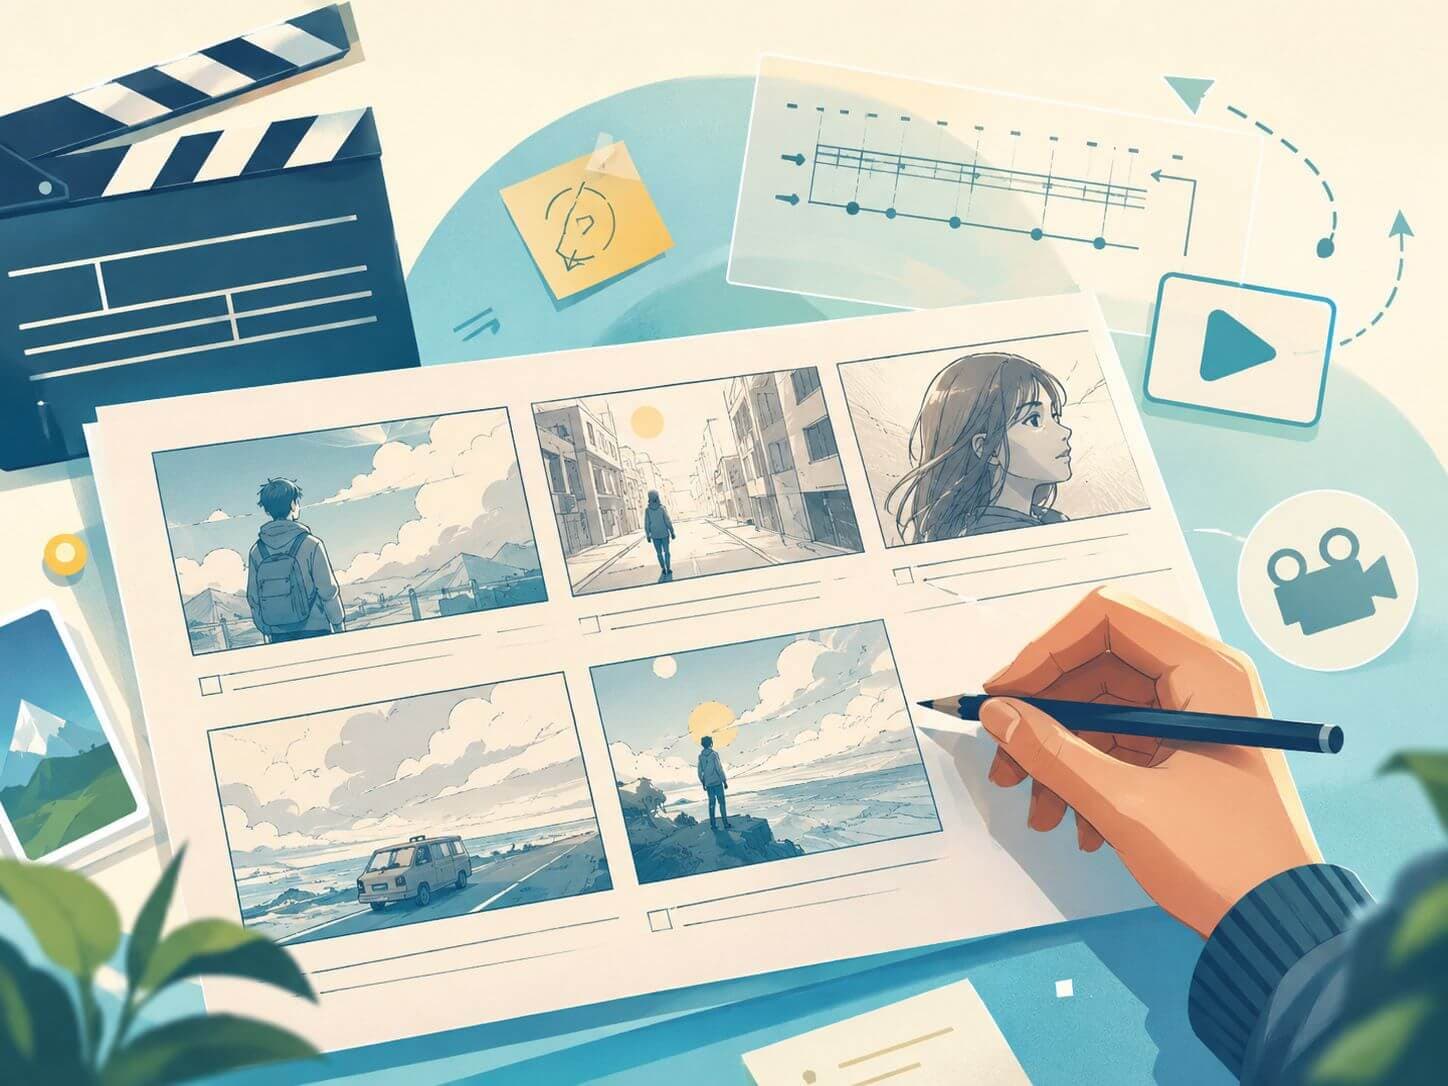
An AI storyboard is not a fancy drawing board. It is a small plan that tells the AI video model what each shot should do before you spend credits generating clips.
The easiest mistake with AI video is asking one big prompt to invent the whole sequence. A storyboard fixes that by turning one idea into a few clear shots, then one prompt per shot.
- Idea
- One video concept
- Plan
- 3 to 6 shots
- Focus
- One job per shot
- Output
- One prompt per shot
Start with a short scene list and one copyable prompt template.
What an AI Storyboard Actually Looks Like
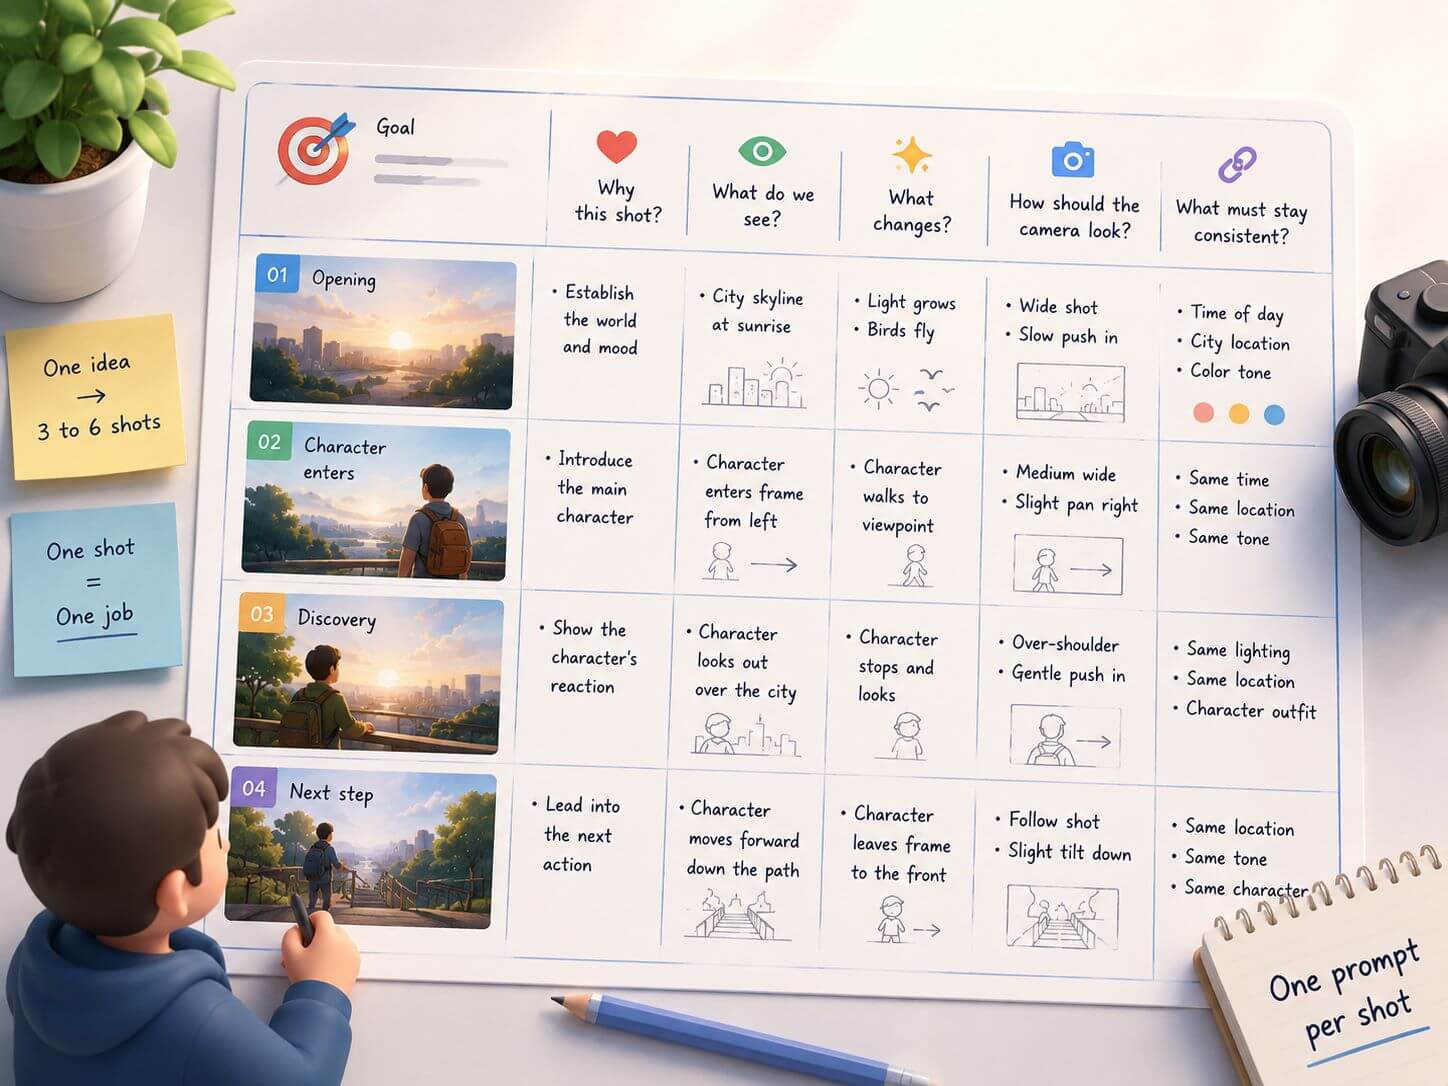
For AI video, a storyboard can be plain text. You only need enough detail to stop the model from guessing the whole sequence for you.
The simple shape is: a video goal, then one short row for each shot. The copyable templates later in this guide use that exact structure.
Each shot should answer five questions:
- Why does this shot exist?
- What should the viewer see?
- What changes during the shot?
- How should the camera look at it?
- What detail must stay the same in the next shot?
Why Storyboarding Helps AI Video
AI video models are better at making one clear shot than inventing a full sequence from a vague idea. That is also how prompt guidance from Sora, Runway, and Adobe Firefly usually works: describe the shot, not just the mood.
Without a storyboard, you usually get these problems:
- The first clip looks good, but the next clip feels unrelated.
- The character changes face, outfit, hair, or age.
- The camera moves randomly.
- The story has no beginning, middle, or ending.
- You keep rerolling because you do not know what to fix.
A Beginner AI Storyboard Workflow
Use this workflow for a first project. The example below keeps one small story all the way through: a tiny kitchen robot carries a glowing paper star through a rainy seaside town to relight a lighthouse before sunrise. The tone is cute, warm, and cinematic.

Step 1: Write the One-Sentence Goal
- This video shows a tiny kitchen robot carrying a glowing paper star from a cozy bakery to a dark seaside lighthouse.
If the sentence is only "make it cinematic" or "make it emotional," it is not ready. Those are style notes, not a video goal.
Step 2: Make a 4-Shot Draft
Now turn the goal into four beats. Do not write prompts yet. At this stage, each shot only needs a job and one visible change.
| Shot | Job |
|---|---|
| Shot 1 | Establish where the story starts. |
| Shot 2 | Show the main subject clearly. |
| Shot 3 | Create the main action, reveal, or energy change. |
| Shot 4 | Land the final image the viewer should remember. |
The useful test is simple: if two shots have the same job, merge them or make one do something different.
| Part | Draft |
|---|---|
| Goal | This video shows a tiny kitchen robot carrying a glowing paper star from a cozy bakery to a dark seaside lighthouse. |
| Shot 1 | A warm bakery window glows in a rainy seaside town before sunrise. |
| Shot 2 | The tiny robot lifts the glowing paper star from a flour-dusted table. |
| Shot 3 | The robot crosses wet cobblestones while the star lights the puddles. |
| Shot 4 | The lighthouse lamp turns on as the robot holds the star up, small and proud. |
Keep the draft short. You are choosing the sequence, not polishing the language. Camera, outfit, lighting, and consistency rules come next.
Step 3: Add Camera and Continuity
Shot Detail Fields
Shot [number]
Purpose:
Scene:
Subject:
Action:
Camera:
Continuity:
Filled Shot Detail
Shot 2
Purpose: introduce the main character and the important object
Scene: cozy bakery kitchen before sunrise
Subject: tiny round kitchen robot with a blue enamel body and brass hands
Action: lifts a glowing paper star from a flour-dusted table
Camera: slow push-in from medium shot to close-up
Continuity: blue robot body, brass hands, warm bakery light, soft golden paper-star glow
Step 4: Turn One Shot Into One Prompt
Do not paste the whole storyboard into every prompt. Convert one shot at a time. Each prompt should only handle the shot you are generating now.
A cute robot in a bakery holding a star, cinematic, beautiful, high quality.
The better prompt gives the model a job, a setting, a camera move, and continuity rules. The weak one only gives it a vibe.
Step 5: Generate, Then Fix Only the Weak Shot
- Did the subject stay recognizable?
- Did the main action happen?
- Did the camera match the plan?
- Did the style stay close to the previous shot?
- Did this shot still serve its purpose?
If the answer is no, fix the storyboard row first:
Problem: The robot looks different in Shot 3.
Fix the continuity line: same tiny round blue enamel robot, same brass hands, same soft golden paper-star glow.
Problem: The rainy street shot feels too dark and loses the cute film tone.
Fix the style line: wet cobblestone street with warm bakery reflections, soft golden star light, gentle miniature-film look, no horror mood.
Copyable AI Storyboard Templates
Short Story Clip
Video goal:
This video shows [character] going from [starting situation] to [ending situation].Shot 1:
Purpose: establish the world
Scene: [where the story begins]
Subject: [main character and important visual detail]
Action: [what changes on screen]
Camera: [wide shot / medium shot / close-up / tracking shot]
Continuity: [face, outfit, prop, lighting, or location detail to keep stable]
Shot 2:
Purpose: introduce the character
Scene: [where we see the character clearly]
Subject: [character appearance and outfit]
Action: [simple visible action]
Camera: [camera angle or movement]
Continuity: [same character details from Shot 1]
Shot 3:
Purpose: show the turning point
Scene: [where the main change happens]
Subject: [character, object, or environment in focus]
Action: [the key action or reveal]
Camera: [camera movement that supports the change]
Continuity: [details that must not drift]
Shot 4:
Purpose: land the final image
Scene: [final location or visual state]
Subject: [what should hold attention]
Action: [final pose, movement, or reveal]
Camera: [ending shot type]
Continuity: [same style and key visual details]
Music Video Section
Song section:
[intro / verse / chorus / bridge]Emotion:
[lonely / dreamy / angry / confident / nostalgic]
Visual symbol:
[rain / mirror / red scarf / empty room / city lights]
Main character:
[appearance and outfit]
Shot 1:
Purpose: set the mood of this section
Scene: [location that matches the emotion]
Subject: [performer, listener, object, or symbol]
Action: [small movement that matches the music]
Camera: [slow push-in / locked wide shot / handheld follow]
Continuity: [symbol, lighting, outfit, or color palette]
Shot 2:
Purpose: introduce the performer or main character
Scene: [same world, clearer view]
Subject: [performer or character detail]
Action: [gesture, walk, look, or performance beat]
Camera: [medium shot / close-up / tracking shot]
Continuity: [same symbol and section color]
Shot 3:
Purpose: show the energy change
Scene: [environment reacts to the music]
Subject: [performer, symbol, or crowd detail]
Action: [motion that rises with the section]
Camera: [faster movement or stronger framing]
Continuity: [same character and visual symbol]
Shot 4:
Purpose: end on the strongest lyric image
Scene: [final image for this section]
Subject: [symbol or character in the strongest pose]
Action: [final movement or held moment]
Camera: [close-up / wide final frame / slow pullback]
Continuity: [same emotion, palette, and symbol]
For lyrics, do not visualize every line literally. Pick the section emotion and one repeatable symbol.
In SoulVid, this is the useful planning layer before generation: organize lyrics, visual ideas, character direction, and storyboard notes before turning scenes into clips.
Product Teaser
Product:
[name or object]Problem:
[what is messy, slow, boring, or painful?]
Result:
[what changes after the product appears?]
Shot 1:
Purpose: show the problem clearly
Scene: [where the problem happens]
Subject: [person, workspace, object, or screen]
Action: [what looks messy, slow, or painful]
Camera: [wide shot or close detail]
Continuity: [problem detail that should stay clear]
Shot 2:
Purpose: introduce the product or interface
Scene: [same setting after product appears]
Subject: [product, app screen, or object detail]
Action: [first interaction or reveal]
Camera: [clean medium shot / macro detail / screen close-up]
Continuity: [brand color, product shape, or UI state]
Shot 3:
Purpose: show the action that solves the problem
Scene: [where the solution is visible]
Subject: [product in use]
Action: [specific change caused by the product]
Camera: [tracking, push-in, or before-after framing]
Continuity: [same product and environment]
Shot 4:
Purpose: show the clean final result
Scene: [final improved state]
Subject: [result the viewer should remember]
Action: [calm final movement or still frame]
Camera: [final wide shot or polished close-up]
Continuity: [same brand and visual style]
Common AI Storyboard Mistakes
- Too many shots: start with 3 to 6. More shots mean more drift.
- No different job per shot: if three shots all mean "make the character look cool," merge or rewrite them.
- Prompting before planning: good single clips can still fail as a sequence.
- Changing style every shot: keep the same visual language unless the change is intentional.
- No camera direction: add wide shot, close-up, slow push-in, tracking shot, or static shot.
- No continuity rule: repeat the outfit, face, prop, lighting, or location detail that must stay stable.
Should You Use an AI Storyboard Generator?
Use an AI storyboard generator when you are stuck, not when you need final control. It can suggest shot ideas, scene order, camera angles, or alternate versions, but you still need to edit the plan yourself when consistency matters.
- Ask AI for 6 rough shot ideas.
- Delete the weak or repeated shots.
- Rewrite the best 3 to 5 shots in your own words.
- Add continuity rules.
- Generate one shot at a time.
Final Takeaway
Start with one sentence. Break it into 3 to 6 shots. Give every shot a job, a visible action, a camera direction, and a continuity rule. Then turn each shot into one prompt. The goal is not to make the plan impressive. The goal is to make the next generation less random.