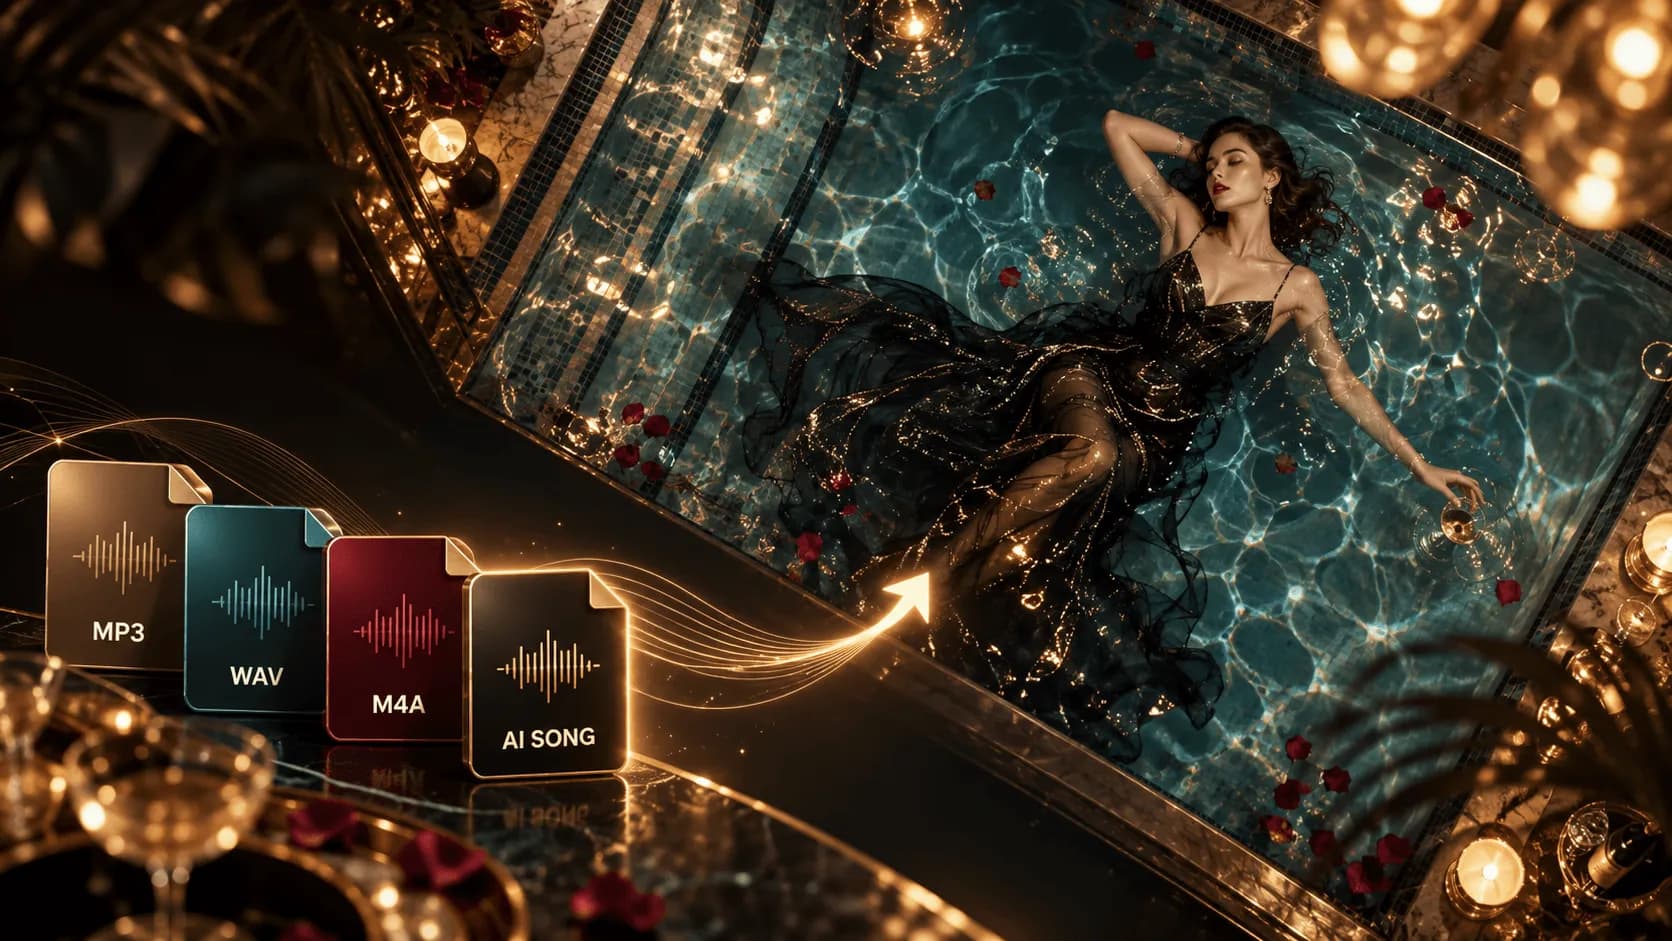
You already have the song. Maybe it is an MP3 from a studio session, a Suno track, a Udio song, a BandLab mix, or a chorus you exported from your DAW at midnight. The audio is ready, but now you need something people can watch.
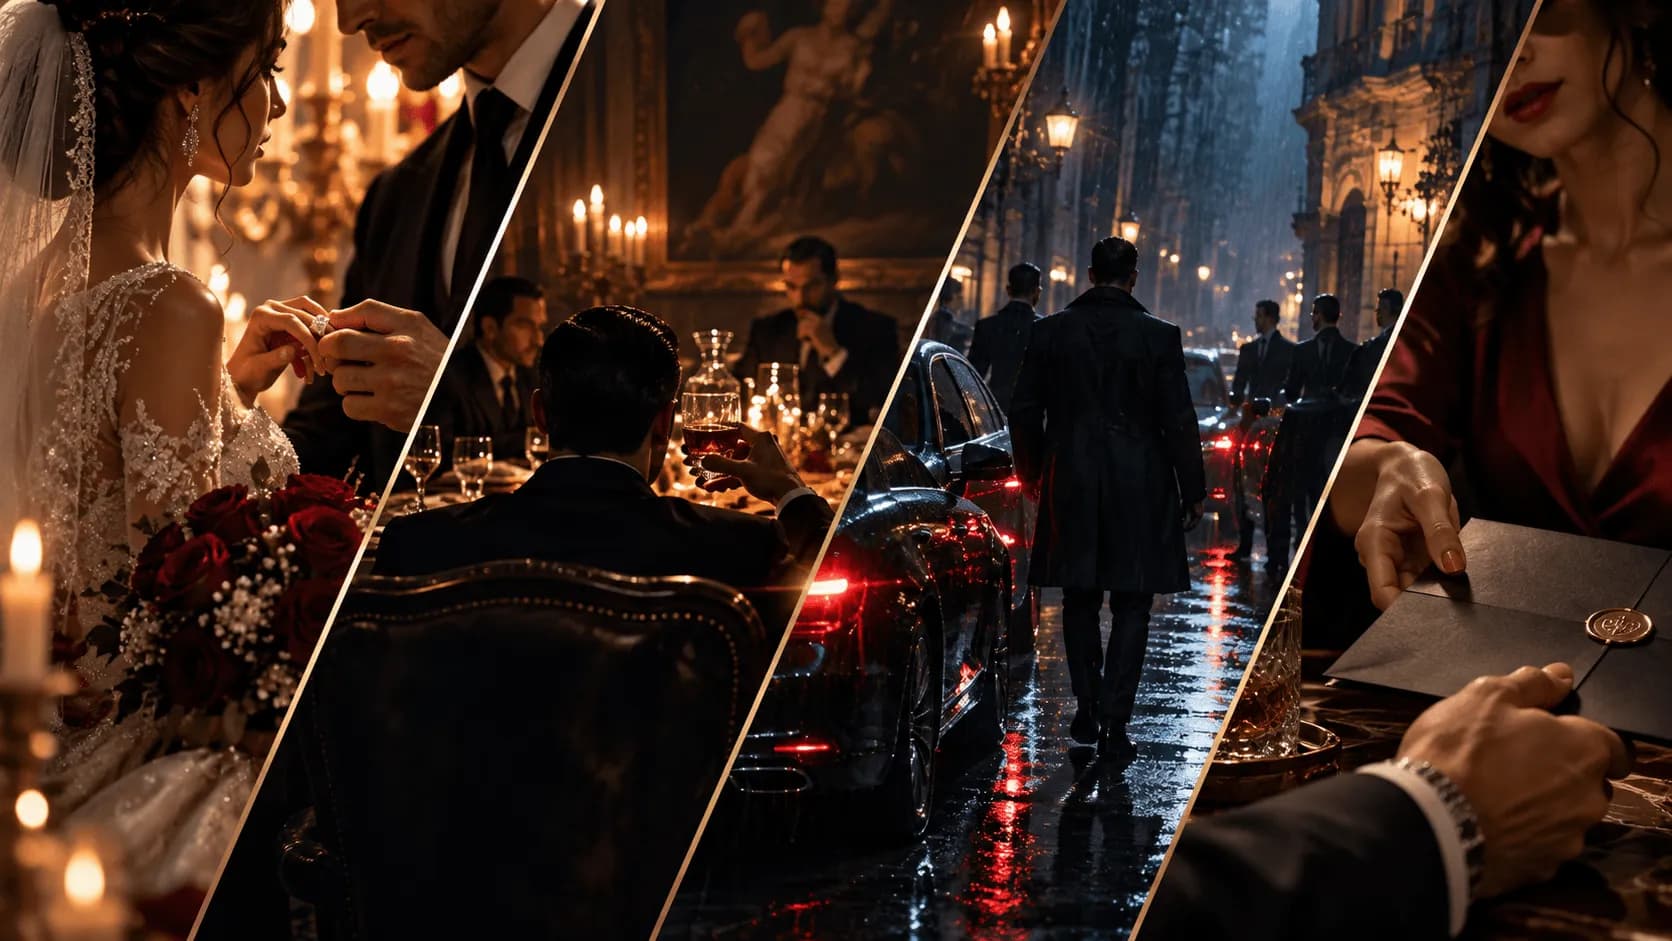
That is where the question how to turn a song into a music video with AI becomes more specific than a normal AI video tutorial. You are not starting from a blank idea. You are starting from a finished track, and the video should follow that track's structure, lyrics, mood, and strongest moments.

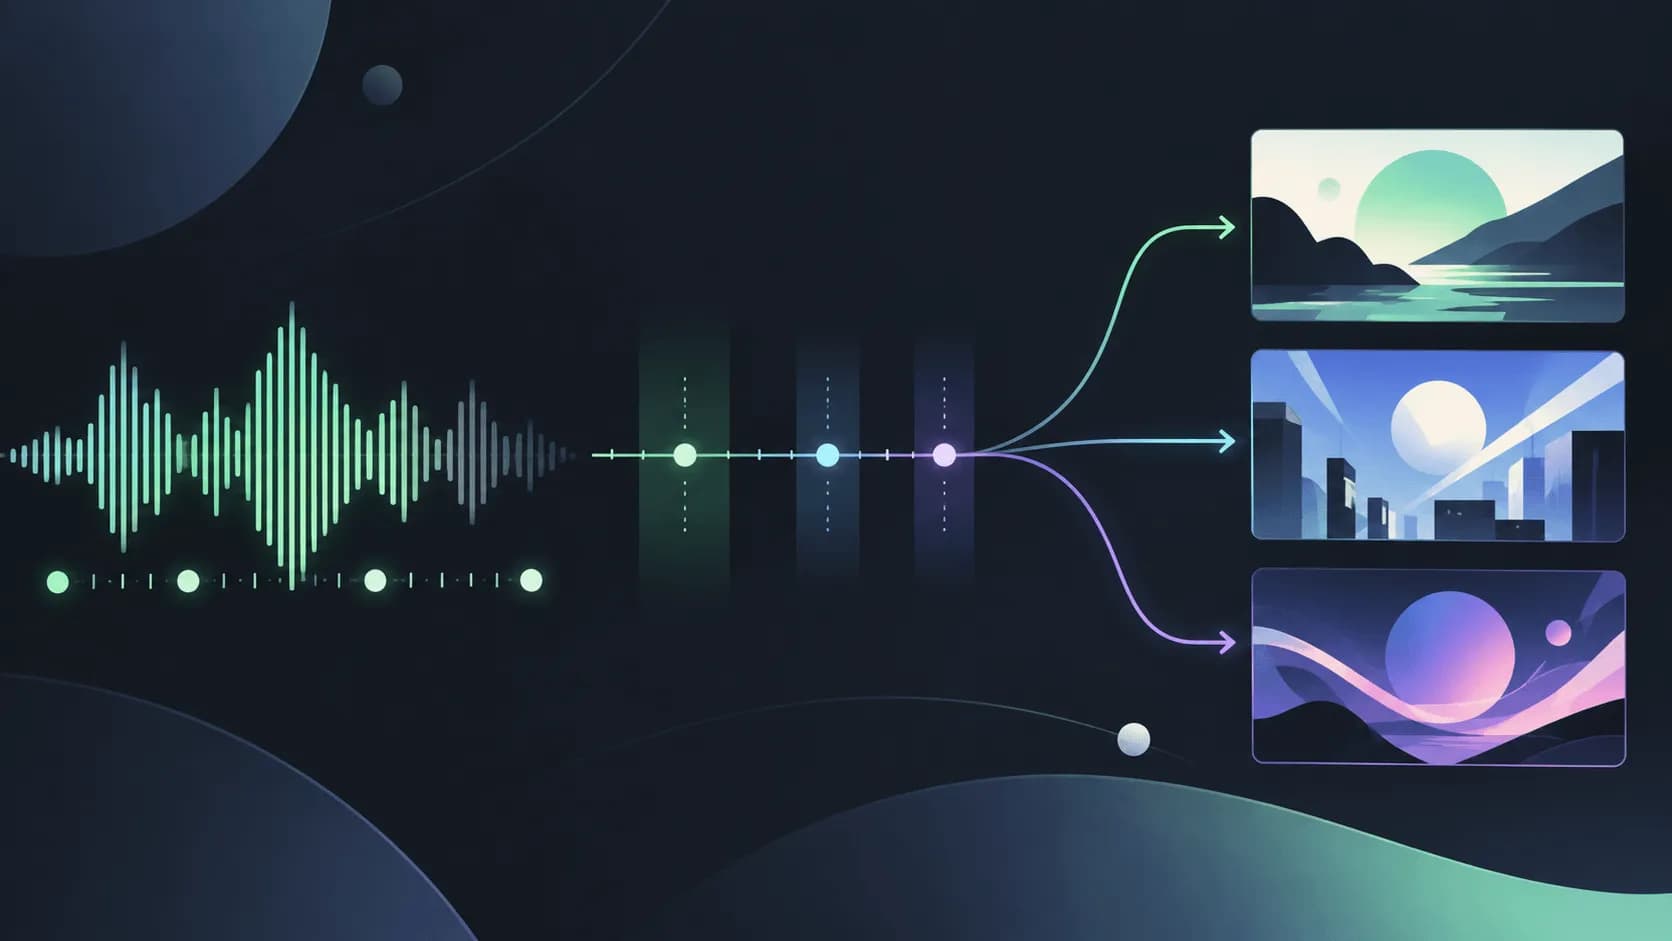
The goal is not to paste random AI clips over music. A useful song-to-video workflow listens to the song first, turns sections into visual jobs, keeps characters and style consistent, and exports the music video version you need for social platforms.
- Input
- A finished song, MP3, WAV, or AI-generated track
- Plan
- Song sections, lyrics, mood, and visual format
- Create
- Storyboard, scenes, captions, and beat-aware cuts
- Export
- 16:9, 9:16, or short social clips
Quick Answer: How Do You Turn a Song Into a Music Video with AI?
To turn a song into a music video with AI, start with the finished audio, decide whether you need a lyric video, visualizer, performance MV, story MV, or anime MV, then break the song into sections. Use those sections to create a storyboard, generate scenes one by one, add lyrics or beat-synced cuts where needed, and export in the right format for your platform.
The simple workflow looks like this:
- Prepare the final song file and lyrics.
- Choose the kind of music video the song actually needs.
- Mark the intro, verse, chorus, bridge, and outro.
- Create one visual concept that can survive across multiple scenes.
- Generate a storyboard before spending time on final clips.
- Build the video scene by scene, then revise weak sections.
- Export a platform-ready version for YouTube, TikTok, Reels, or Shorts.
If you are using SoulVid, the useful path is: upload or start from a song, describe the visual direction in plain language, review the summary and storyboard, then generate and refine scenes inside one project. If the song comes from a specific tool, you can also read the Suno music video workflow or the Udio song to music video guide.
Choose the Right Music Video Format First
Before generating anything, decide what kind of video you are making. This choice affects the length, prompts, captions, shot design, and how much story you need.
| Video format | Best for | What AI needs |
|---|---|---|
| Static visualizer | Getting a full song onto YouTube quickly | Cover image, waveform, subtle motion |
| Lyric video | Songs where lyrics are the hook | Timed lyrics, readable typography, background style |
| Music visualizer | Instrumentals, EDM, lo-fi, ambient tracks | Tempo, mood, audio-reactive style |
| Performance MV | Artist, singer, dancer, or stage-based videos | Main performer, location, camera style |
| Story MV | Songs with emotion, characters, or narrative | Character, setting, visual arc, storyboard |
| Anime MV | Stylized original characters and dramatic scenes | Character anchor, anime style, song sections |
| Short social clip | TikTok, Reels, Shorts promotion | Strongest 15-60 seconds and vertical framing |
For most independent artists, the smartest first test is a short music video for the chorus. A 20- to 45-second version lets you test the visual direction before committing to the full song. If it works, extend the same character, palette, and storyboard logic to more sections.
How to Turn a Song Into a Music Video with AI: Step-by-Step Tutorial
This workflow is easiest when you treat SoulVid as the music video workspace, not just a final rendering tool. Prepare the song first, then use SoulVid to turn the audio, lyrics, and creative direction into a visual summary, storyboard, scene plan, and editable clips. You can start with a finished MP3 or WAV, or begin from a song idea inside SoulVid, but the important rule is the same: let the song guide the video structure before generating scenes.
Turn Your Song Into an AI Music Video
Upload a finished song, describe the visual direction, and build a storyboard-led music video with SoulVid.
Create an AI Music Video with SoulVidStep 1: Prepare Your Finished Song
Start with the final version of the song, not a rough export. If the audio changes after you build the video, every timestamp, lyric cue, and scene transition may shift.
Keep these items ready:
- The final audio file, ideally MP3 or WAV.
- The complete lyrics, if the song has vocals.
- The song title, artist name, genre, and mood notes.
- The exact duration of the track.
- The strongest section, such as the chorus, hook, drop, or final verse.
- Usage rights for the song, especially if it came from Suno, Udio, BandLab, or another AI music platform.
If the track is instrumental, replace lyrics with a simple energy map. Write notes like "0:00 quiet piano," "0:37 drums enter," "1:12 drop," or "2:05 everything becomes softer." Those notes help the video follow the song instead of floating above it.
Step 2: Open SoulVid and Start From the Song
Open SoulVid AI, choose the music video generation option, and start with the song as the center of the project. If you already have a finished track, upload the audio file. If you are still shaping the music, start from a song idea and let the same project continue into the visual workflow.
When you start, give SoulVid a short project brief instead of a giant prompt. Mention the song genre, emotional arc, strongest section, lyrics or instrumental mood, and target platform. This gives the workflow enough context to create a useful summary before it builds scene directions.
For example:
I uploaded a finished dark electronic song. I want to make a 30-second vertical music video for the first chorus. The verse feels restrained and lonely, then the chorus becomes wider and more urgent. Please help me turn the track into a visual summary and storyboard before generating clips.
Step 3: Choose the Music Video Format
After the song is in the project, decide what kind of output SoulVid should plan. A full cinematic MV is not always the best first choice.
Use a lyric video when the words matter most. Use a visualizer when the music is atmospheric or instrumental. Use a story MV when the song has a clear emotional arc. Use a performance MV when the viewer should focus on the singer, dancer, or artist persona. Use an anime MV when you want a stylized character and world that can carry the whole track.
For a practical first project, pick one format and one platform:
- Full YouTube MV: choose 16:9 and plan more sections.
- Shorts, TikTok, or Reels: choose 9:16 and start with the chorus.
- Spotify Canvas-style loop: choose one strong visual motif and keep the motion simple.
- Lyric promo: prioritize readable text, safe framing, and the strongest line.
In SoulVid, this is also where you should choose the working format before the storyboard gets too detailed. A 9:16 social music video needs different framing from a 16:9 YouTube release, especially if lyrics, faces, or performance movement appear in the frame.
Step 4: Break the Song Into Sections
Do not ask AI to make a three-minute music video from one giant prompt. Break the song into sections first.
Most songs can be mapped like this:
| Song section | Visual job |
|---|---|
| Intro | Establish mood, place, performer, or mystery |
| Verse | Introduce the situation or emotional state |
| Pre-chorus | Build motion, tension, or anticipation |
| Chorus/drop | Deliver the strongest image or performance moment |
| Bridge | Change perspective, location, color, or emotional direction |
| Outro | Resolve, loop back, or leave one memorable final image |
You do not need formal music theory. Listen once and write down plain-language notes. "The chorus opens up," "the beat drops here," or "this line feels lonely" is useful direction.
If you are making a short video, choose one section first. The chorus is usually the safest start because it carries the song's hook and strongest emotional payoff.
In SoulVid, these section notes help the project understand why scenes should change. You can ask for the chorus to open wider, the bridge to become quieter, or the outro to return to the opening image. That is more useful than asking for "cinematic visuals" everywhere.
Step 5: Create a Visual Concept
A strong AI music video needs a visual promise. That means the viewer can understand what world they are in and what should stay consistent.
Choose:
- One main subject: singer, dancer, character, couple, band, object, or symbolic figure.
- One setting: rooftop, empty theater, rainy street, bedroom studio, desert road, subway station.
- One mood shift: lonely to hopeful, calm to explosive, nostalgic to surreal, dark to bright.
- One visual symbol: red scarf, old photo, glowing flower, broken mirror, neon sign, cassette tape.
- One palette: blue and amber, black and red, pastel daylight, chrome silver, warm film grain.
Here is a simple framework:
Create a [format] music video for my [genre] song. The mood begins [starting emotion] and grows into [ending emotion]. Follow [main subject] in [setting]. Keep [recurring object], [color palette], and [camera style] consistent. The chorus should feel like [visual payoff].
Example:
Create a cinematic 9:16 music video for my dark electronic song. The mood begins restrained and lonely, then becomes wider and more urgent in the chorus. Follow one singer in a charcoal jacket and red scarf through a rain-soaked city at night. Keep cyan reflections, red accents, and slow tracking shots consistent. The chorus should feel like the city lights are waking up around them.
Put this concept into SoulVid as a normal creative note. The point is not to write the perfect one-shot prompt. The point is to give the project stable anchors it can carry into the summary, character direction, storyboard, and scene prompts.
Step 6: Review the SoulVid Summary and Storyboard
The storyboard is where a song becomes a video plan. In SoulVid, review the summary and storyboard before generating every scene. This is your chance to fix the project while it is still cheap to change.
For each important section, write:
- Timestamp or approximate duration.
- Scene purpose.
- Subject and setting.
- Camera movement.
- Lighting and color.
- What must stay consistent.
When SoulVid returns a storyboard, check whether each scene has a job. The intro should establish the world, the verse should move the idea forward, the chorus should deliver the strongest visual payoff, and the outro should leave a final image. If the scenes feel too random, ask SoulVid to tighten the visual concept before you generate clips.
For example:
Close-up of rain on a subway window. The red scarf appears reflected in the glass. Quiet, blue, still.
The singer walks through a wet street under cyan lights. Slow side-tracking camera, no crowd, restrained movement.
The city opens into wider shots. Red lights begin appearing in signs, reflections, and passing cars. Energy rises with the beat.
The red scarf is left on an empty train seat as morning light enters the carriage. Calm final image.
If you want a deeper planning process, use the music video storyboard guide before generating final scenes.
Step 7: Generate Scene Clips and Revise Weak Moments
Generate the music video scene by scene. This keeps the project easier to review and gives you room to fix weak moments.
Start with the most important section, usually the chorus. If the chorus scene works, it becomes the visual anchor for the rest of the video. If it does not work, revise that one scene before expanding.
In SoulVid, you can use the uploaded song and creative direction to build a visual summary, storyboard, and scenes. The advantage is that the project stays song-first: the audio, lyrics, structure, and visual direction remain connected as you revise.
Good scene prompts are specific, not huge:
Create the chorus shot for this music video. The same singer in a charcoal jacket and red scarf walks into a wider rain-soaked intersection at night. Cyan reflections cover the street, and small red lights appear in windows and signs as the chorus opens. Use a smooth tracking camera and keep the singer, scarf, city, and color palette consistent.
Review each scene for:
- Does it match the song section?
- Does the main subject stay recognizable?
- Does the style match previous scenes?
- Does the movement feel right for the tempo?
- Is the frame safe for the target aspect ratio?
In SoulVid, revise one weak scene at a time instead of rebuilding the whole project. You can keep the approved character, outfit, location, palette, and scene order while changing only the camera move, energy level, or setting. That is especially useful when the chorus works but one verse shot feels flat.
Step 8: Add Lyrics, Captions, or Beat-Synced Cuts
Not every music video needs lyrics on screen. But if the hook is verbal, captions can help the video perform better, especially on short-form platforms.
Use lyrics when:
- The chorus line is memorable.
- The song is new and viewers do not know the words yet.
- You are making a lyric video or social teaser.
- The platform audience may watch without sound at first.
Keep lyric text readable. Avoid tiny fonts, low contrast, or placing words over faces. If you need a dedicated lyrics-first workflow, read the AI lyric video workflow.
Beat-synced cuts matter too. You do not need every frame to pulse, but major transitions should land where the song changes: the downbeat, chorus start, drop, or final line.
Ready to Build the First Version?
Upload your finished song, describe the visual direction, and let SoulVid turn the track into a storyboard-led AI music video workflow.
Turn Your Song Into a Music VideoStep 9: Export for the Right Platform
Export format should match the audience.
| Platform | Best aspect ratio | Recommended first length |
|---|---|---|
| YouTube full video | 16:9 | Full song or 60-180 seconds |
| YouTube Shorts | 9:16 | 15-60 seconds |
| TikTok | 9:16 | 15-45 seconds |
| Instagram Reels | 9:16 | 15-60 seconds |
| Feed post | 1:1 or 4:5 | 10-30 seconds |
Make one strong short version first. Then repurpose:
- A chorus teaser for TikTok and Reels.
- A lyric hook clip for Shorts.
- A visualizer loop for platforms where the audio is the focus.
- A 16:9 expanded MV for YouTube.
This turns one song into multiple release assets instead of one risky all-or-nothing video.
Common Mistakes When Turning a Song Into an AI Music Video
- Starting with random visuals before listening to the song. The song structure should drive the video.
- Trying to generate the whole MV in one prompt. Scene-level control usually gives better continuity.
- Changing the style every few seconds. One consistent world is stronger than ten unrelated looks.
- Ignoring lyrics. If the song has words, important lines should influence the scenes.
- Forgetting the target platform. A 16:9 YouTube frame may crop badly in 9:16.
- Using music you do not have rights to publish. Check your song license before exporting a video for public release.
Example Workflow: From Finished Song to AI Music Video
Imagine you have a finished indie pop song. The chorus is the strongest part, and you want a 30-second vertical teaser.
| Decision | Example |
|---|---|
| Song section | First chorus |
| Format | 9:16 story MV |
| Main subject | One cyclist in a yellow rain jacket |
| Setting | Rainy city at blue hour |
| Mood shift | Tired and lonely to warmer and hopeful |
| Visual symbol | Bicycle light reflected in wet streets |
| Final image | Cyclist reaching a bridge at dawn |
First, upload the song or start a SoulVid music video project. Then describe the chorus and visual concept:
I uploaded a finished indie pop song. Please help me make a 30-second 9:16 music video for the first chorus. Follow one cyclist in a yellow rain jacket riding through a rainy city at blue hour. The verse feels lonely, but the chorus becomes warmer and more hopeful. Keep the same cyclist, bicycle, yellow jacket, wet streets, and blue-to-amber palette across every scene. Build a storyboard first, then help me generate scene clips.
After the storyboard is ready, generate the chorus scenes, review the strongest visual, and only then expand the idea into a longer video or additional social clips.
FAQ
Can AI turn any song into a music video?
Can I turn an MP3 into a music video with AI?
What is the best AI tool to make a music video from a song?
Should I make a lyric video or a full music video?
Can I use a Suno or Udio song in an AI music video?
How long should my first AI music video be?
Can I make an anime music video from my song?
Conclusion
Turning a song into a music video with AI works best when you treat the song as the director. Start with the final audio, choose the right video format, map the sections, and build a visual concept that can stay consistent from scene to scene.
You do not need to make a full video first. Start with the strongest chorus, create a short storyboard, generate a few scenes, and revise the parts that do not match the track. Once the core idea works, you can expand it into a full MV, lyric clip, visualizer, or a set of vertical social posts.
Turn Your Song Into an AI Music Video
Upload a finished song, describe the visual direction, and build a storyboard-led music video with SoulVid.
Create an AI Music Video with SoulVid