So you want to make an anime video with AI, but you do not want to start by buying a studio setup, learning animation software, or selling your favorite keyboard for GPU money. Fair.
Google Flow is one of the easiest places to test that idea because it lets you create short video clips from prompts, frames, and visual references. If your goal is a short anime-style scene for TikTok, Shorts, Reels, or a tiny story experiment, you can get surprisingly far with a simple plan.
This guide walks through how to make AI anime for free with Google Flow, using a real beginner workflow: create a character, add that character into a prompt, choose your video settings, confirm the credit use, generate one clip, and preview or edit it inside Flow.
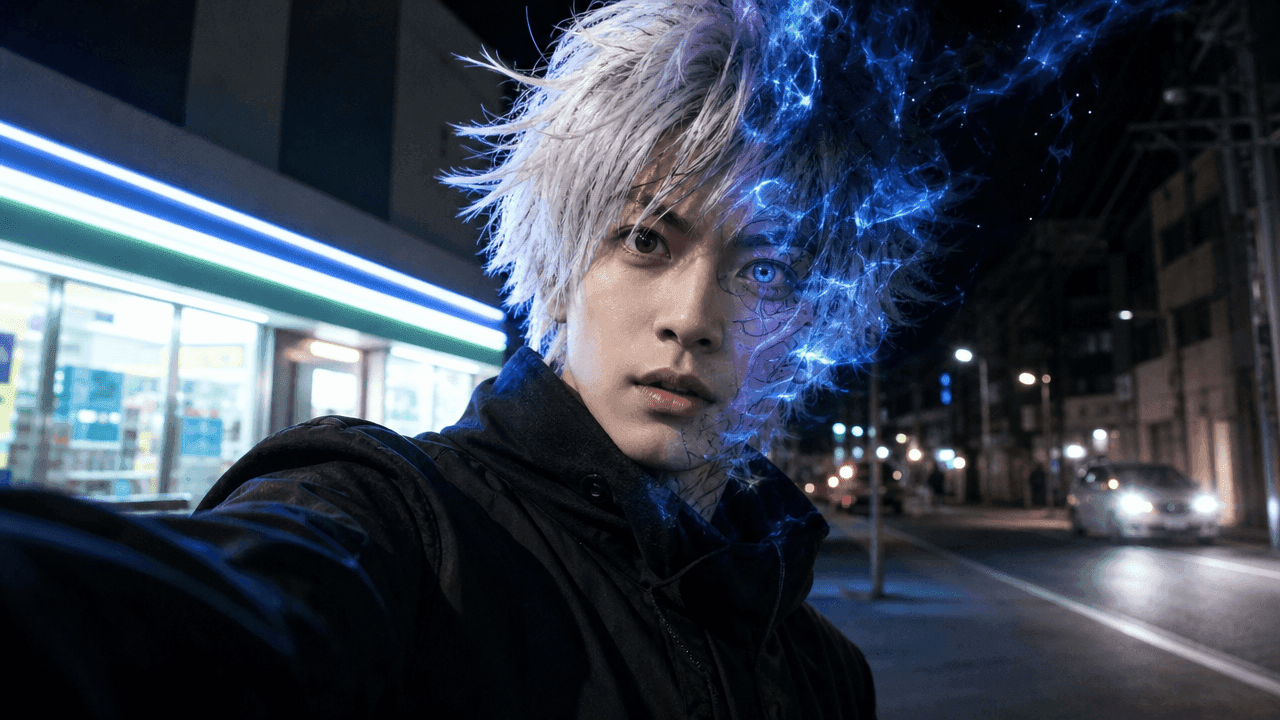
The example is simple on purpose: a silver-haired anime villain working the night shift at a convenience store and scanning instant noodles like it is a world-ending mission. Not exactly prestige cinema, but honestly, that is why it works.
What Is Google Flow?
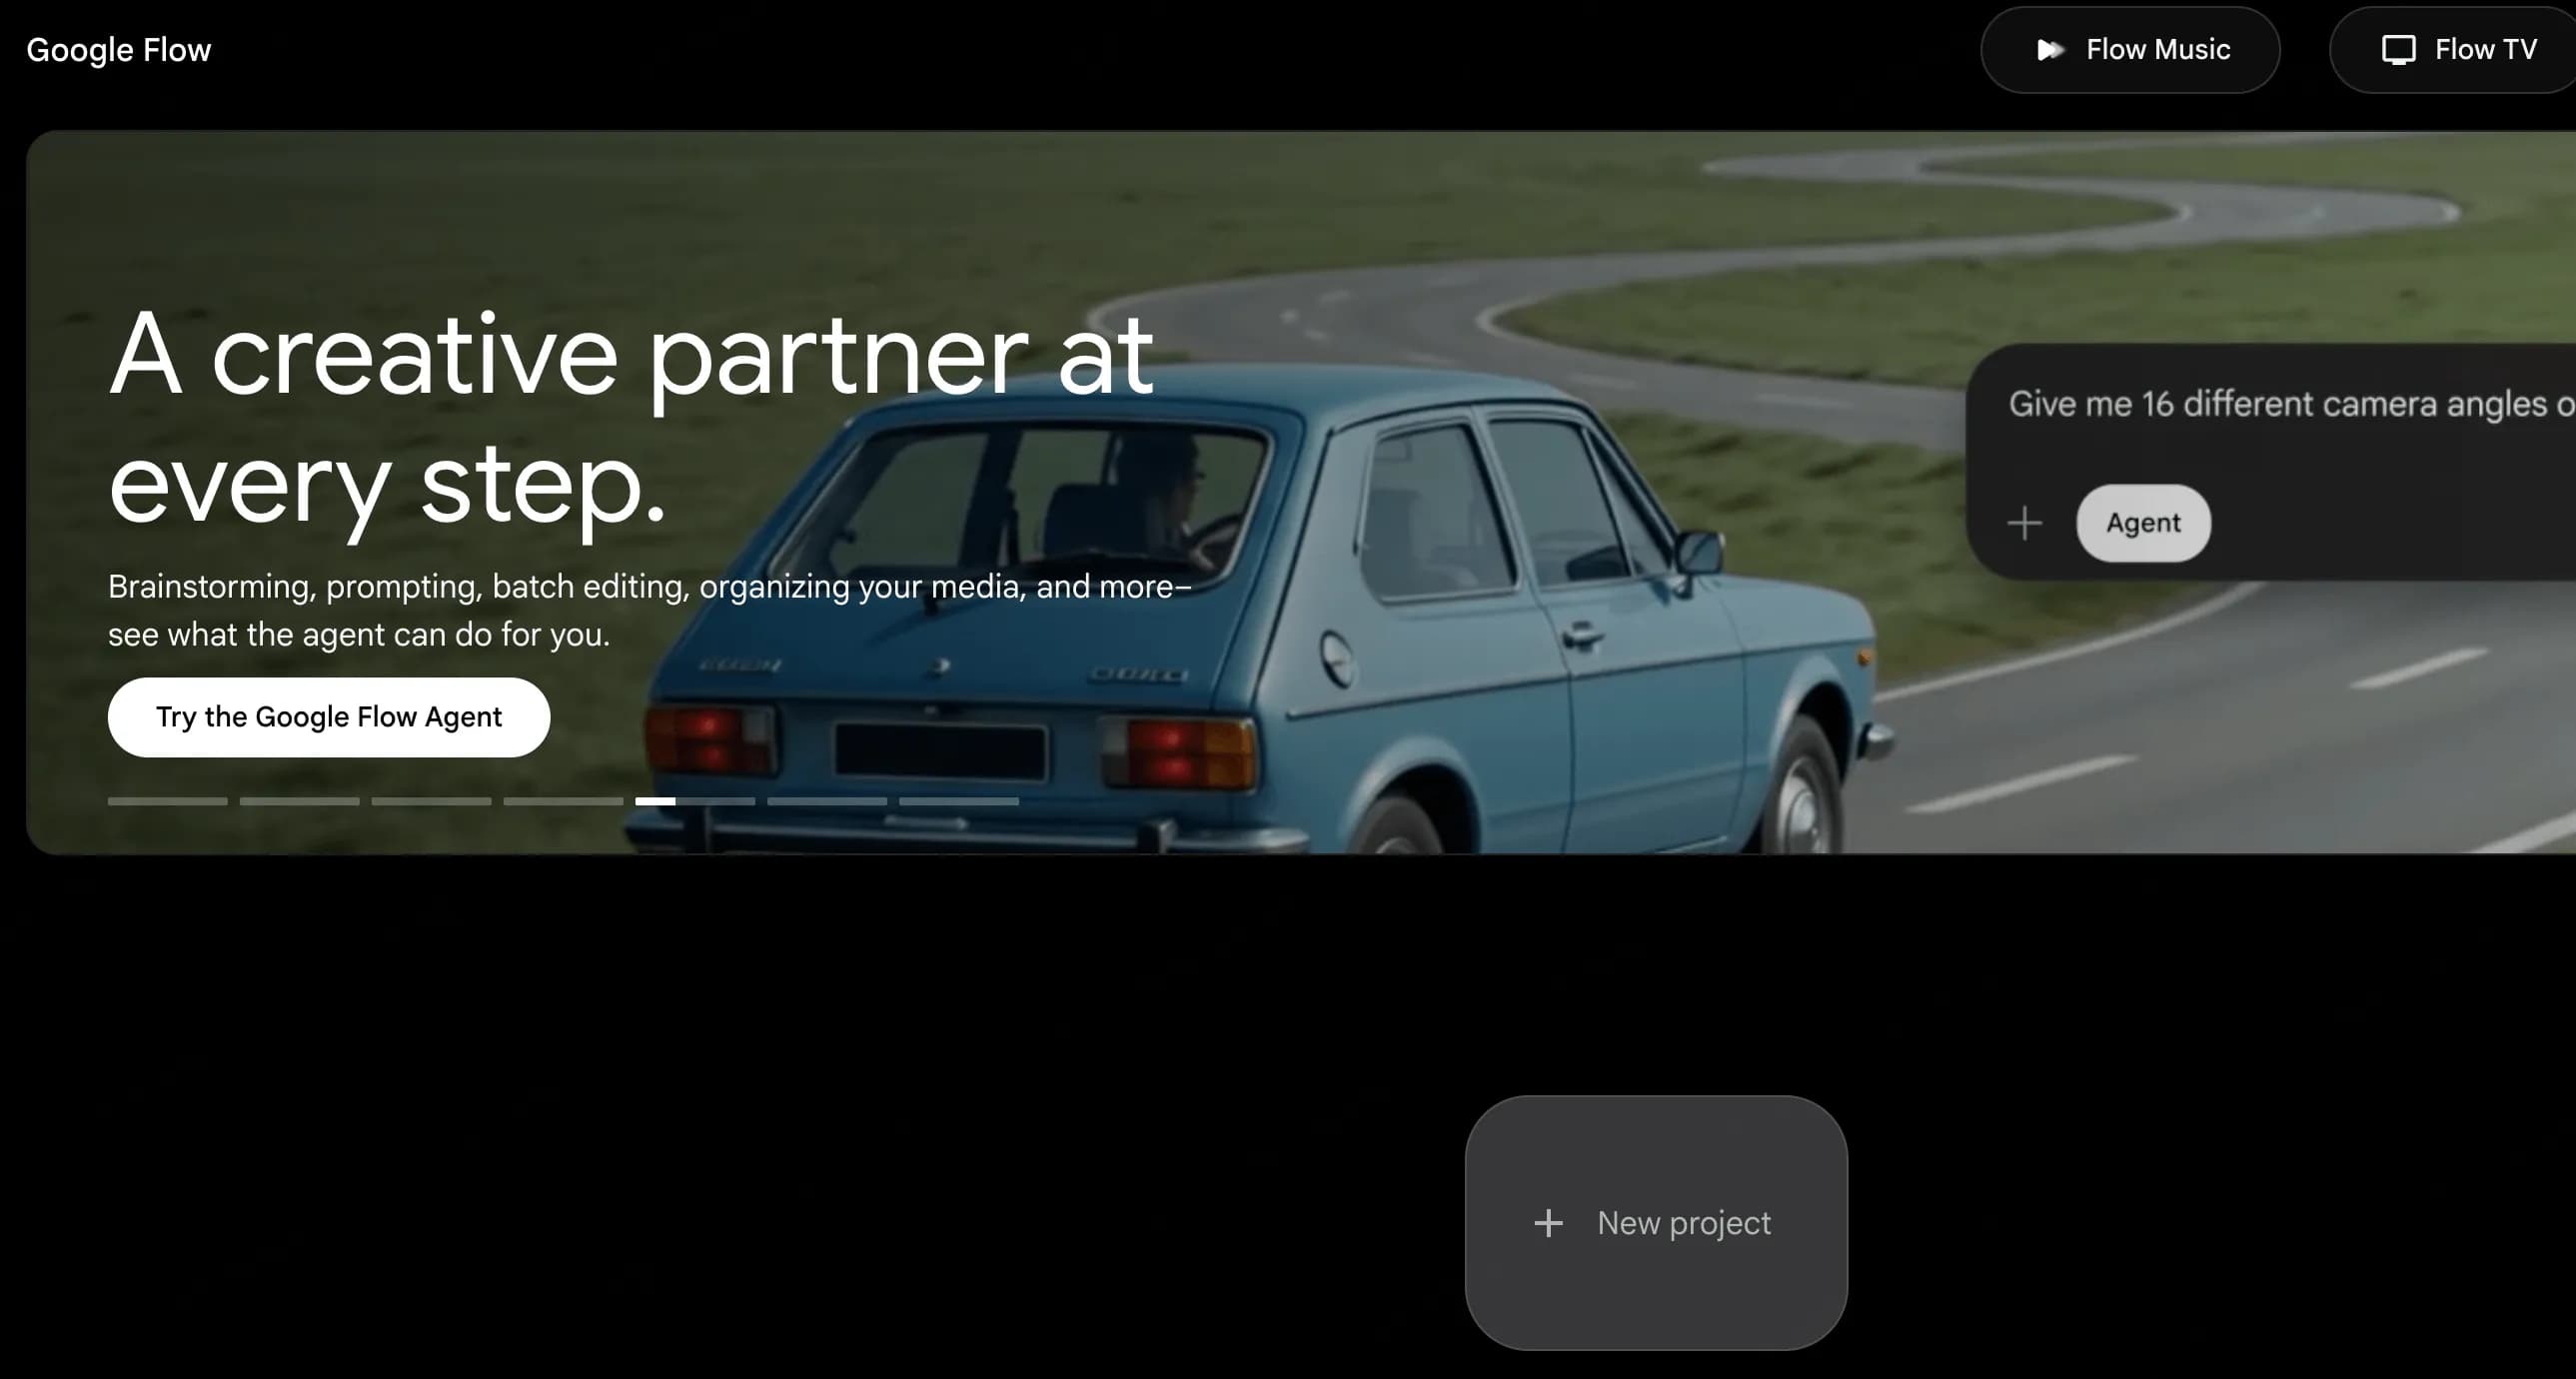
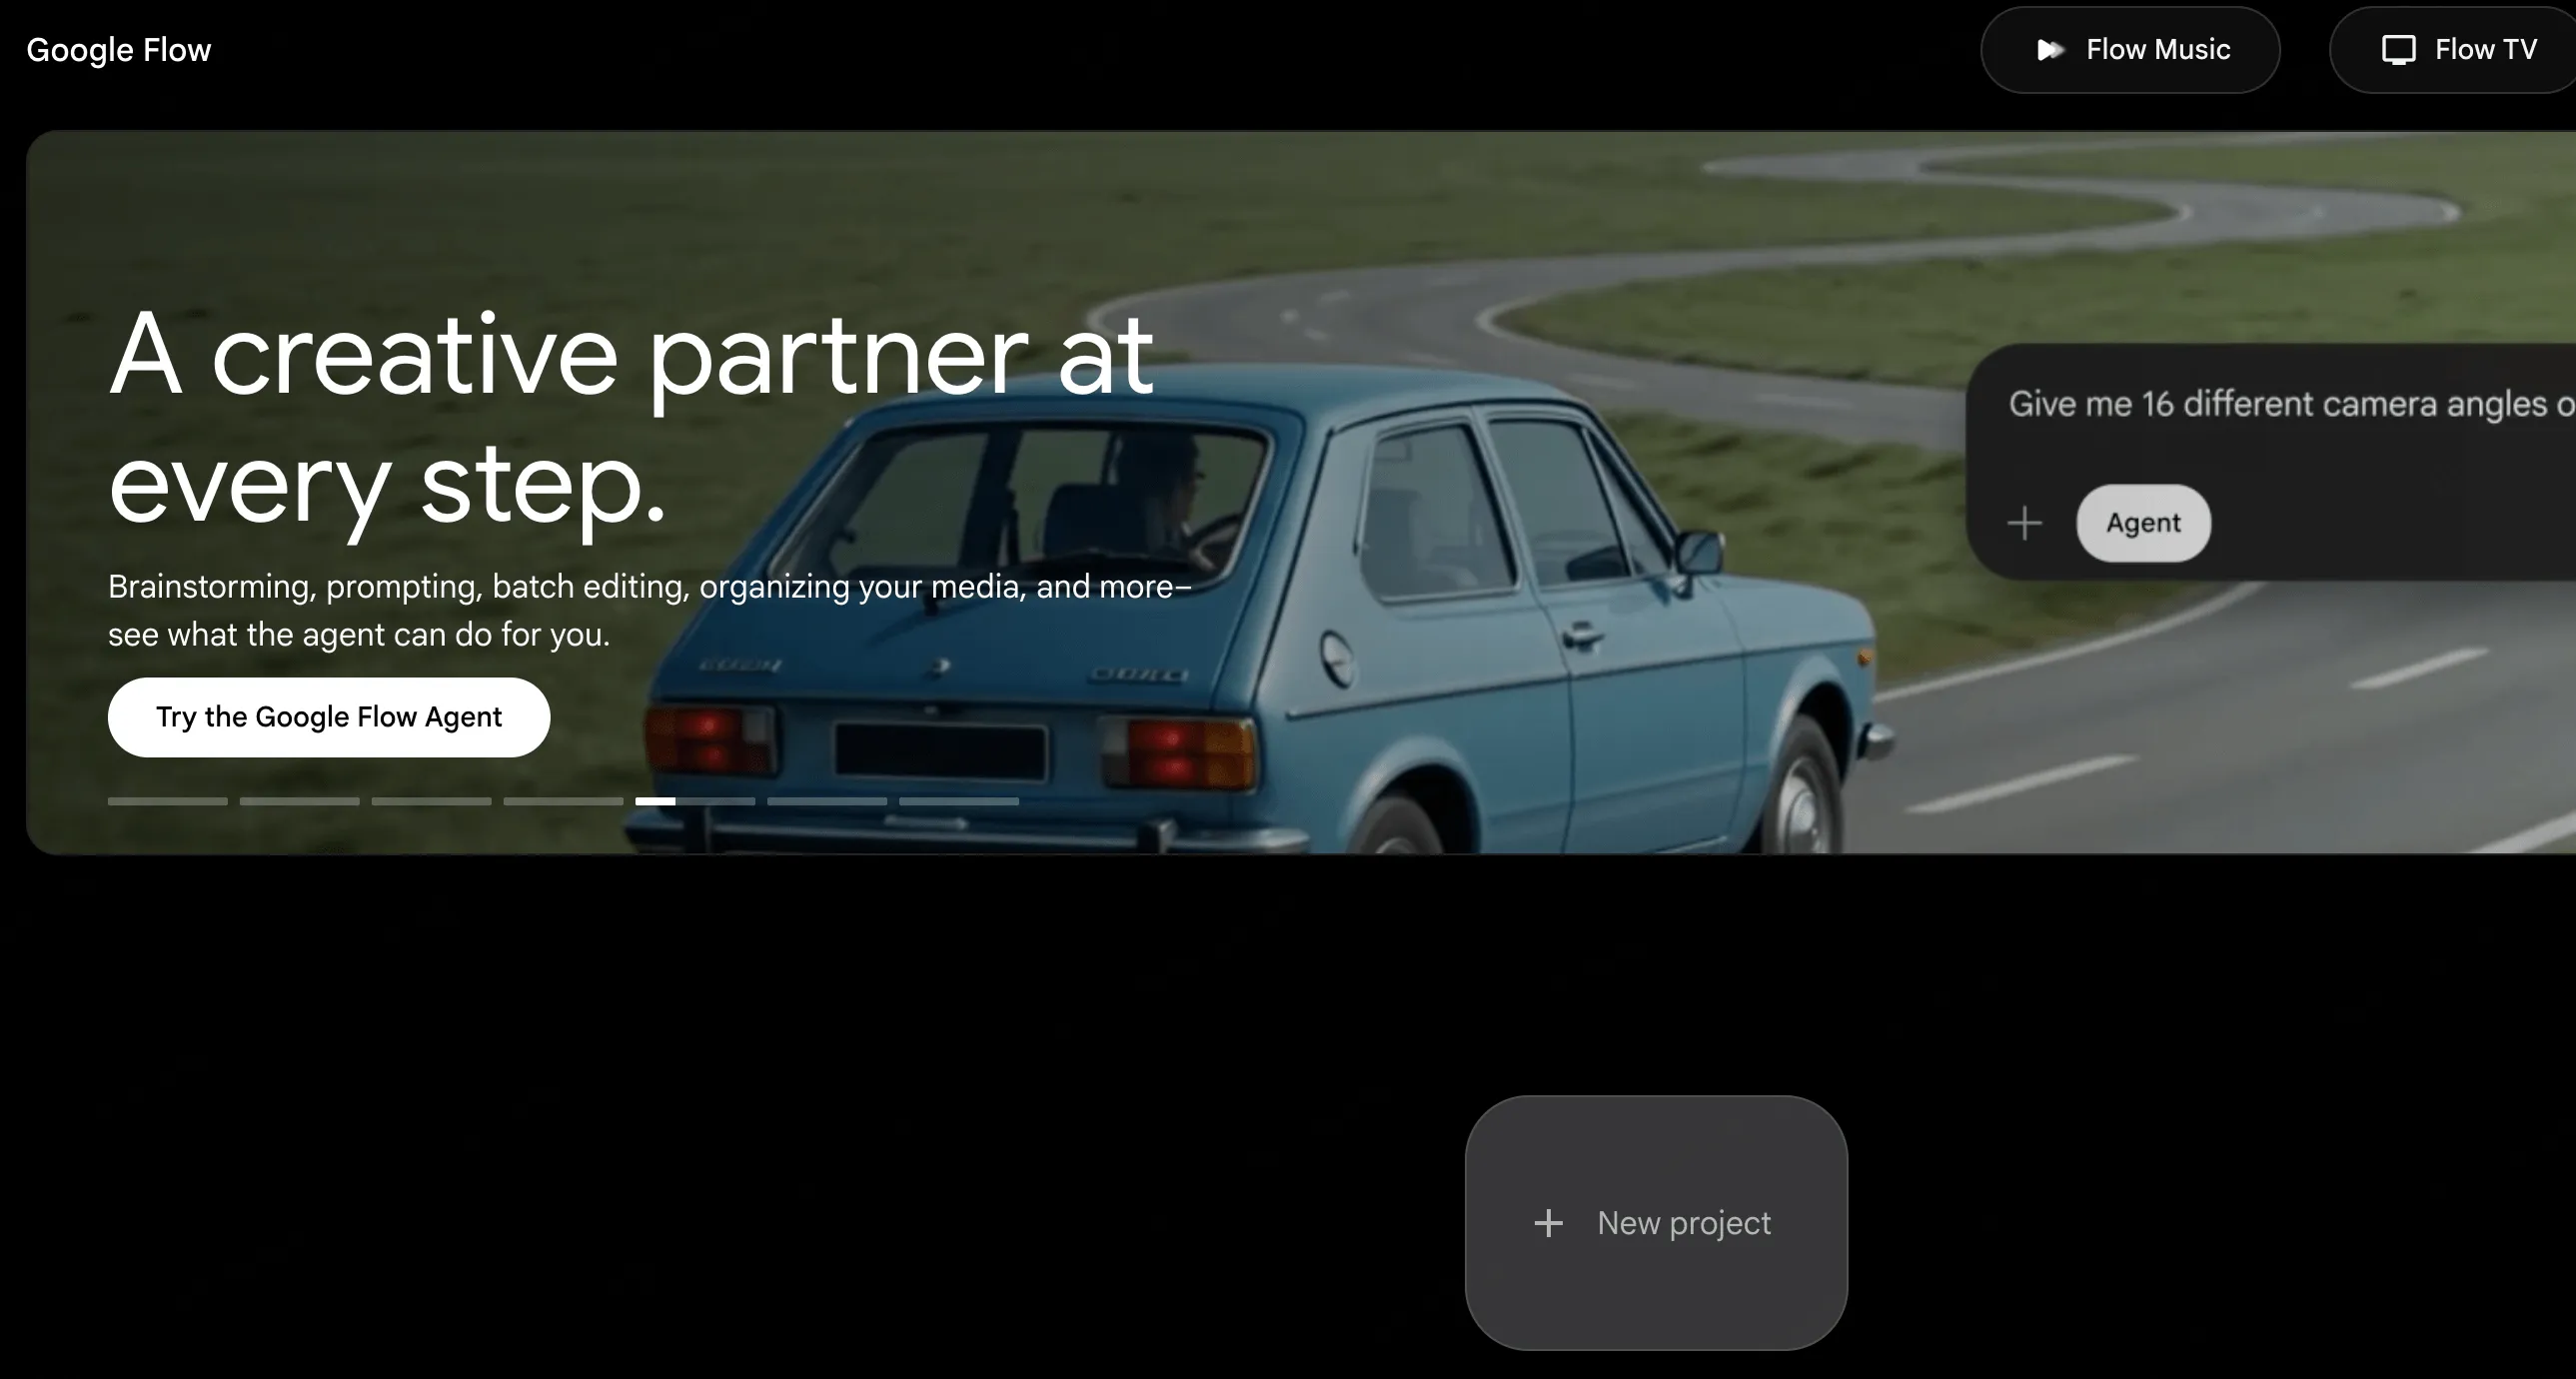
Google Flow is an AI filmmaking tool from Google Labs. It is built around Google's video and image models, including Veo, Gemini Omni, and Nano Banana options. For creators, the simple version is this: you describe a scene, add references if needed, choose video settings, and generate short clips.
Flow is not a full anime production studio. It will not automatically write a season finale, fix your pacing, design every character, and export a perfect episode while you eat chips. But it is useful for making short visual experiments, stylized clips, reference-based scenes, and social videos.
For anime-style videos, the most useful Flow features are:
- Text to Video: describe an anime scene and generate a short clip.
- Frames to Video: use a start frame, or start and end frames, to guide animation or transitions.
- Ingredients or references: add character, object, or style images so the output has something to follow.
- Aspect ratio settings: choose vertical 9:16 for short-form videos or horizontal 16:9 for YouTube-style scenes.
- Scene organization: keep clips and prompts in a project instead of losing everything in a downloads folder with names like final_final_v7_realfinal.
Is Google Flow Really Free to Use?
Yes, but read the tiny invisible asterisk before your wallet starts dancing.
According to Google's Flow Help pages, users can receive daily Google Flow credits, and generation costs depend on the model and settings you choose. Google also notes that video generation without a subscription may be limited during peak hours, and feature availability can vary by country, region, model, and account type. The current official credit details are listed in Google's Flow credits guide.
So the practical answer is:
| Question | Simple answer |
|---|---|
| Can beginners try Google Flow without a big setup? | Yes, if Flow is available for your account and region. |
| Is it unlimited free anime video generation? | No. You work within credits, model limits, and availability rules. |
| Can free users waste credits by testing random prompts? | Extremely yes. The credit monster loves vague prompts. |
| What should beginners do? | Plan one short scene first, then generate only what you actually need. |
That is why this tutorial focuses on a credit-saving workflow. You are not trying to brute-force an anime movie. You are making one clean short clip, then building from there.
How to Make AI Anime for Free with Google Flow
This workflow is designed for total beginners. The example below is a 16:9 short clip made in under five minutes. The whole idea started from one very basic thought: "What if an anime villain-looking guy was just buying instant noodles at night?" That is enough to start.
The smaller the idea, the better your first result will usually be. "A villain scans noodles" is usable. "A twelve-character dragon battle across three timelines with emotional betrayal and perfect lip sync" is how prompts go to cry in a corner.
Step 1: Create or Choose Your Character in Google Flow
In Google Flow, open Characters from the left sidebar and create or upload a character reference first. For this example, the character was made directly inside Flow with this prompt:
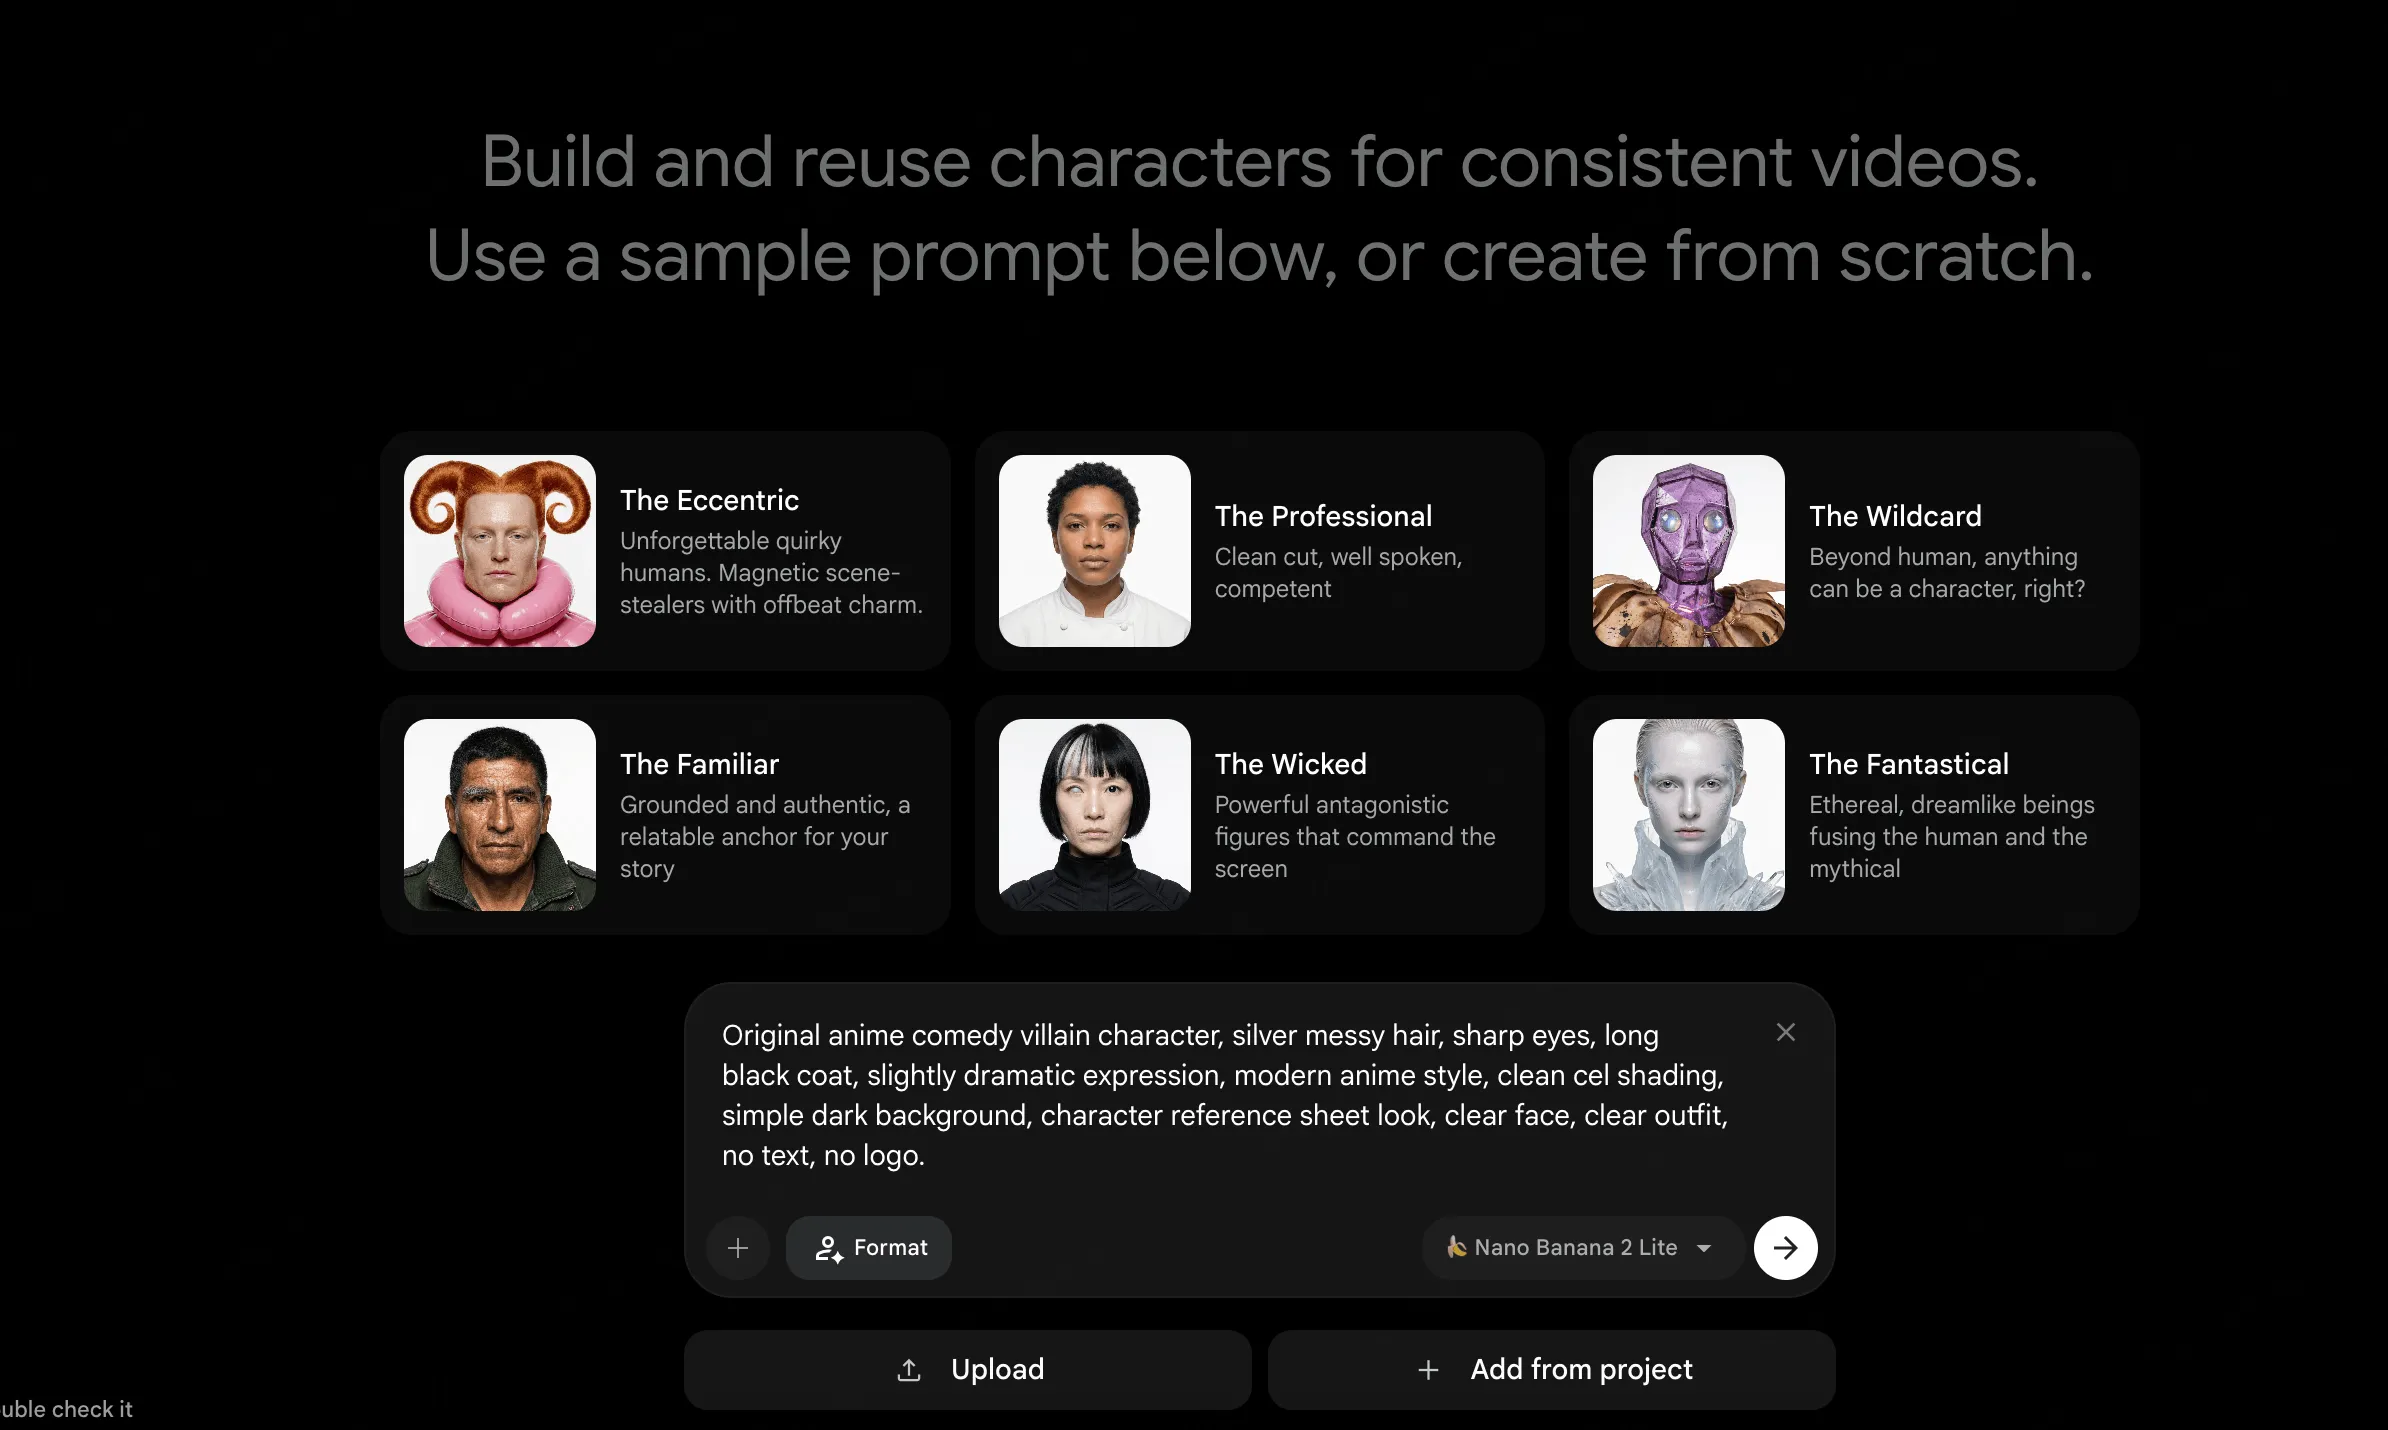
The goal is not to make the most beautiful character ever. The goal is to make a usable reference: clear face, clear hair, clear outfit, simple background. Give Flow something stable to hold onto.
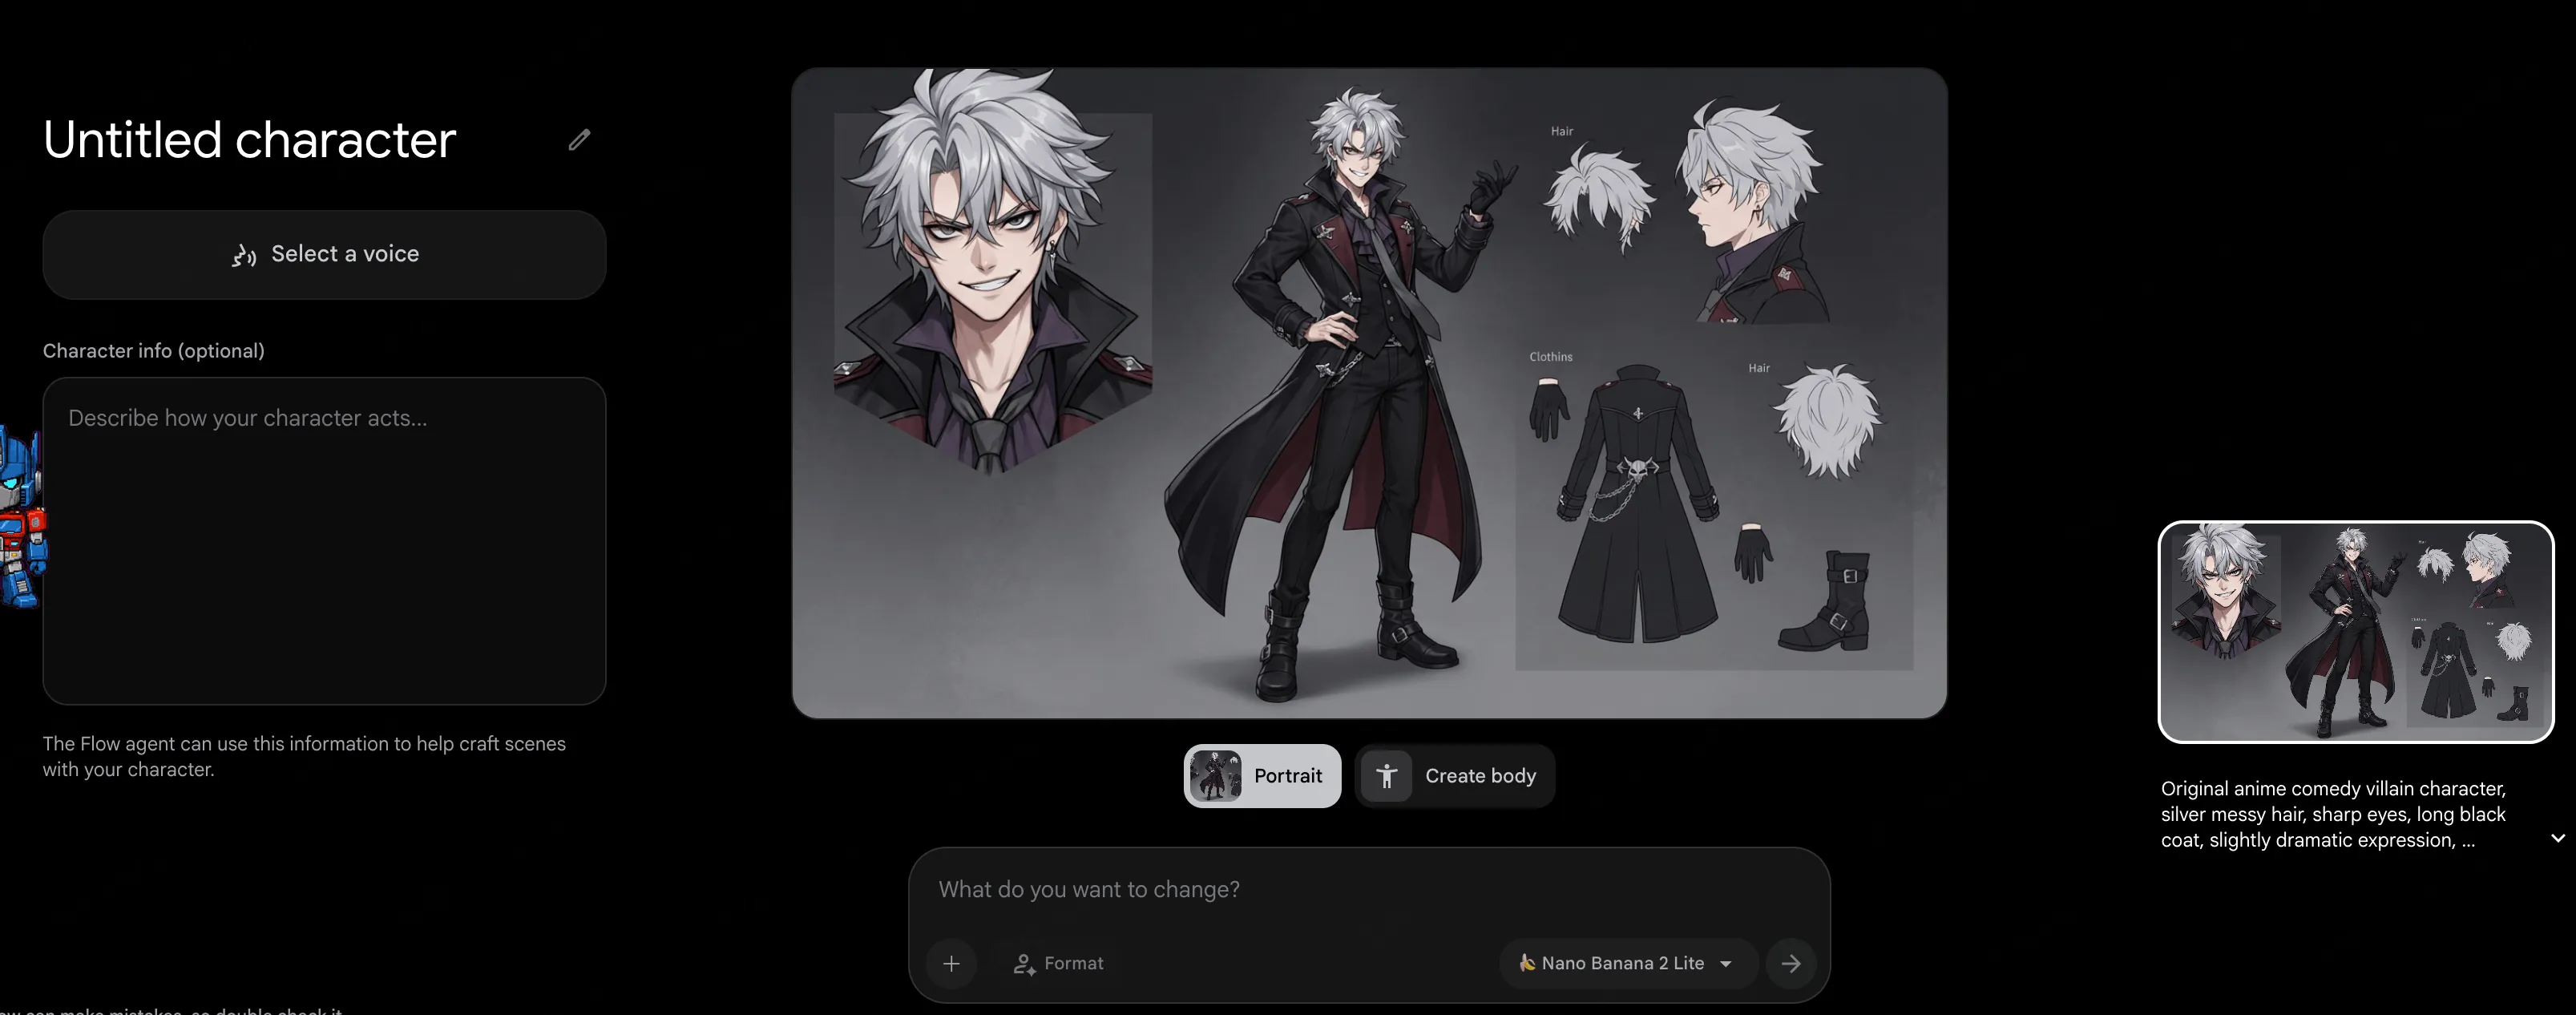
Use original characters or anime-inspired designs when publishing your work. Famous anime characters can create copyright and platform-risk headaches, especially for commercial use.
Step 2: Open Scenes or All Media, Then Add the Character
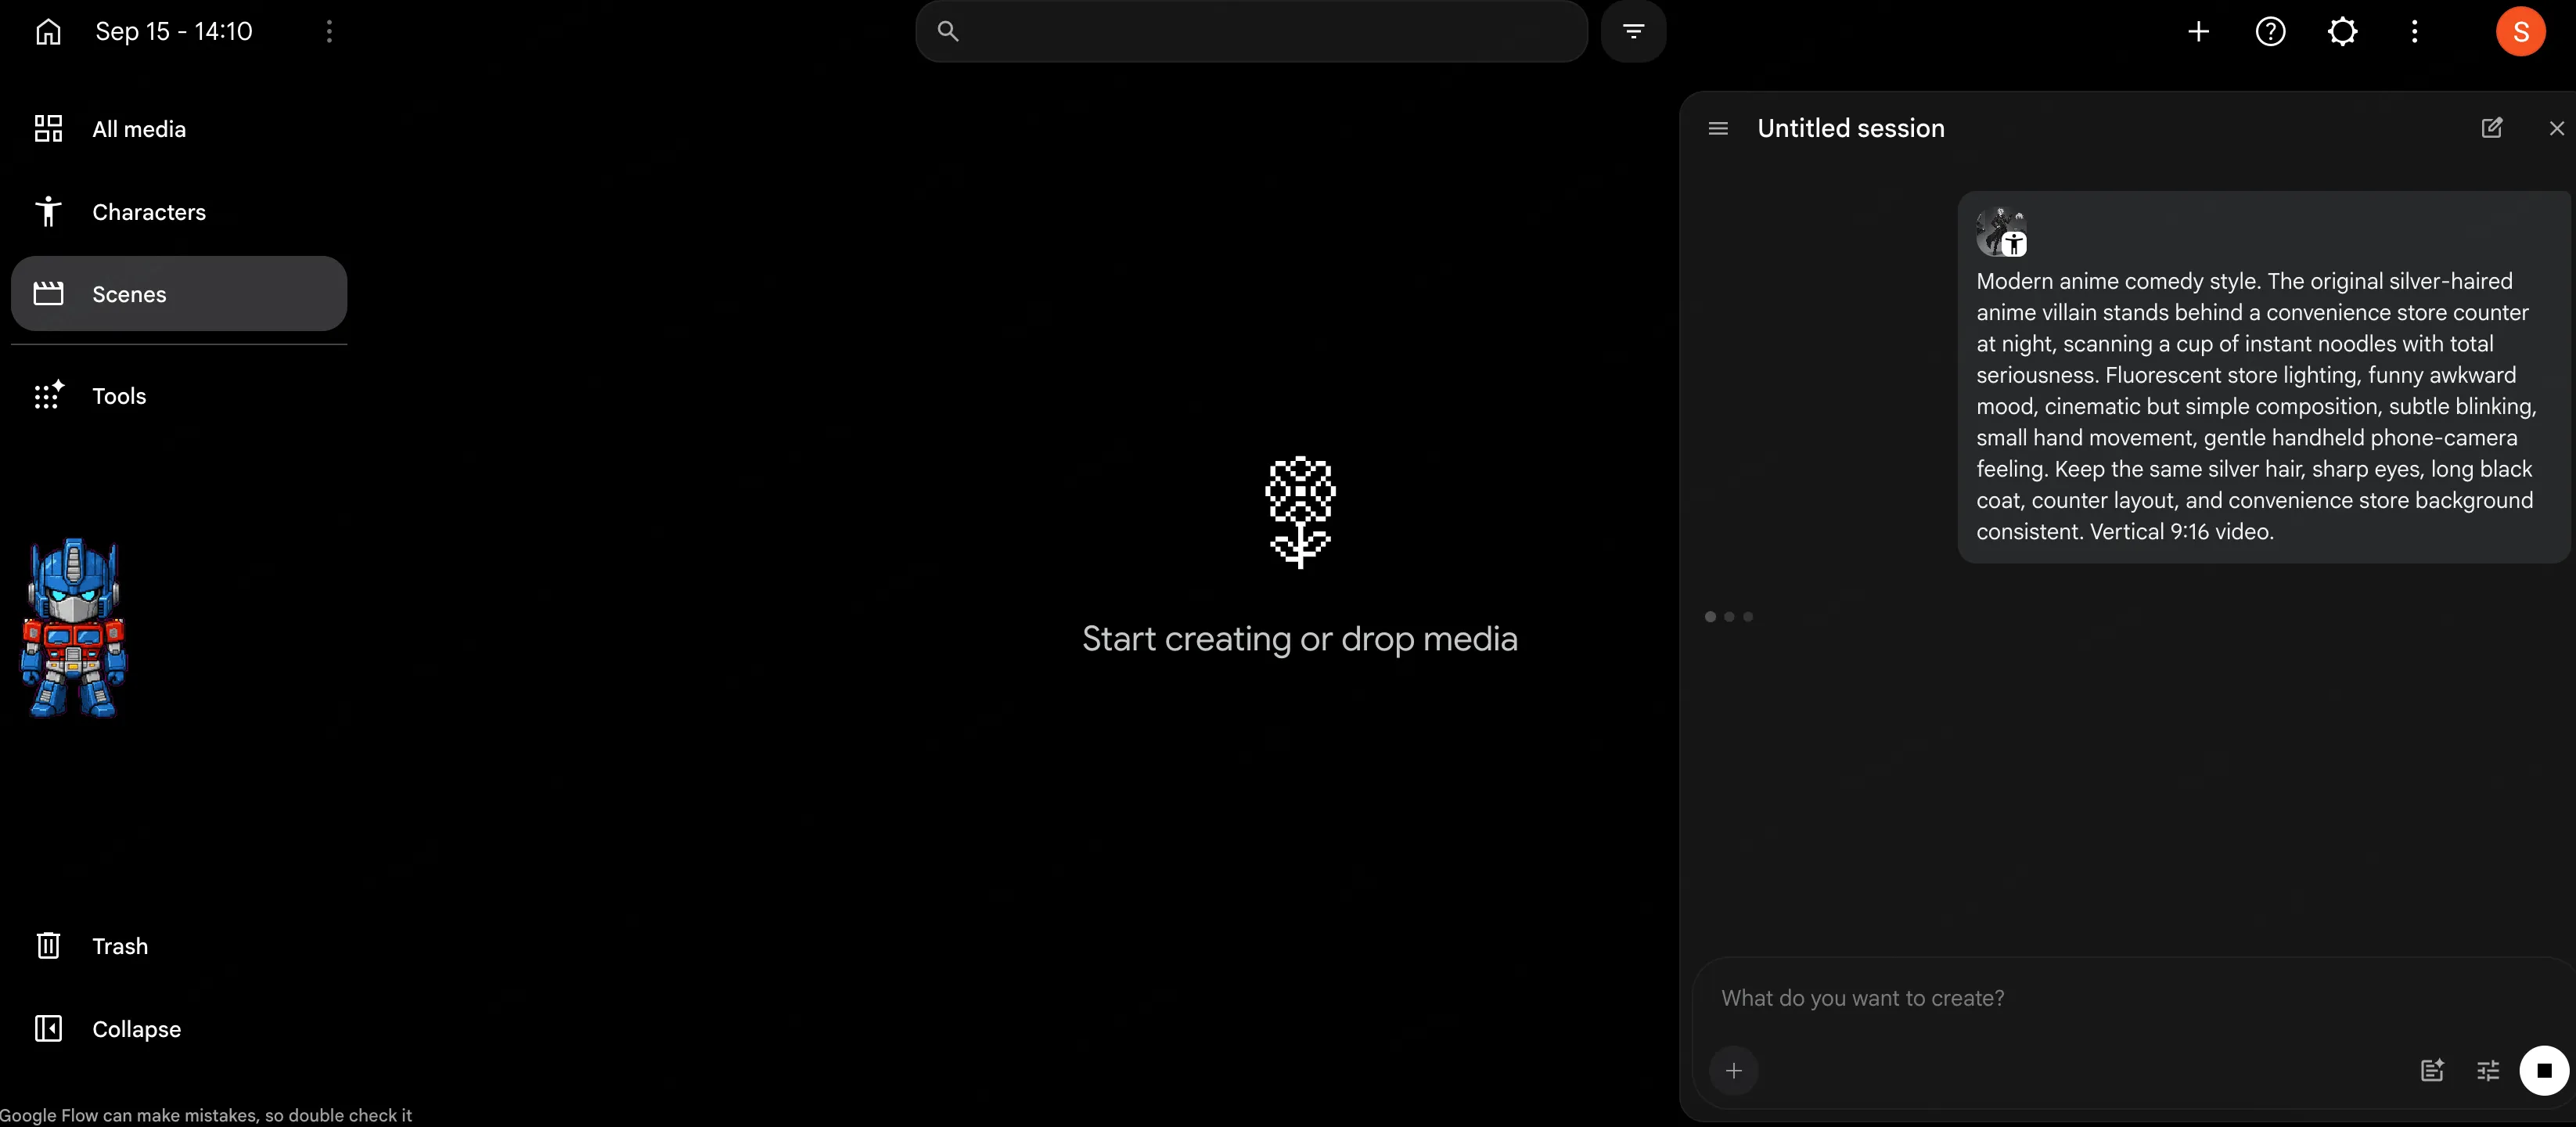
After the character is ready, go back to Scenes or All media from the left sidebar. Use the creation box on the right side of the workspace, the one that asks what you want to create.
You should see a prompt area with a few useful controls:
- Plus button: choose the character you just made and attach it to the prompt.
- Agent instructions button: add extra direction if you want Flow to interpret the idea in a specific way.
- Settings button: choose the output format, including aspect ratio.
- Arrow button: submit the generation once everything looks right.
Step 3: Choose Settings, Paste the Prompt, and Confirm Credits
This is the main step. Choose the output format in Settings, attach the character with the plus button, paste your prompt, then click the arrow.
For TikTok, Shorts, and Reels, 9:16 vertical is usually the right choice. For a wider tutorial image, YouTube-style scene, or desktop preview, 16:9 also works. This example uses 16:9.
| Setting | Beginner choice | Why |
|---|---|---|
| Aspect ratio | 16:9 for this example, 9:16 for Shorts | Match the final place where you will post or screenshot the video. |
| Model | Start with a lighter or faster option if available | Save credits while testing the idea. |
| Motion | Simple controlled motion | Stable clips beat chaotic clips, especially for anime characters. |
| References | Add your character with the plus button | Helps Flow keep the silver hair, coat, and face more consistent. |
If Flow shows different model names, resolutions, or credit costs, trust the current Flow interface. Model menus change faster than anime power levels.
The exact video prompt used for this example is:
It does not try to do too much. The character stands mostly still, the action is just scanning noodles, and the prompt repeats stability rules for the face, outfit, hands, and background. Boring? Slightly. Useful? Very.
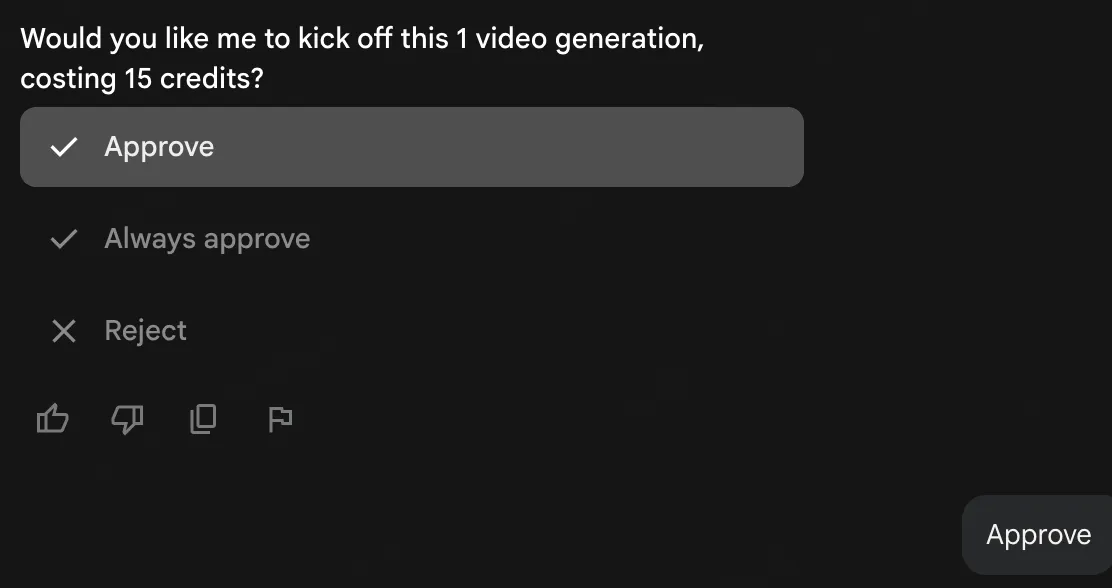
Before Flow spends your credits, Google will ask you to confirm. Do not speedrun this part. Check the model, the cost, and the format, then confirm if everything is right.
Plan your AI anime video before generating clips
Use SoulVid to turn a character idea, song, or short scene into a storyboard-led anime video workflow.
Try SoulVid Anime Music Video GeneratorStep 4: Preview the Video and Make Simple AI Edits
After generation finishes, click the video result. Flow opens a preview view where you can watch the clip, download it, share it, or do a simple AI edit from the prompt box at the bottom.
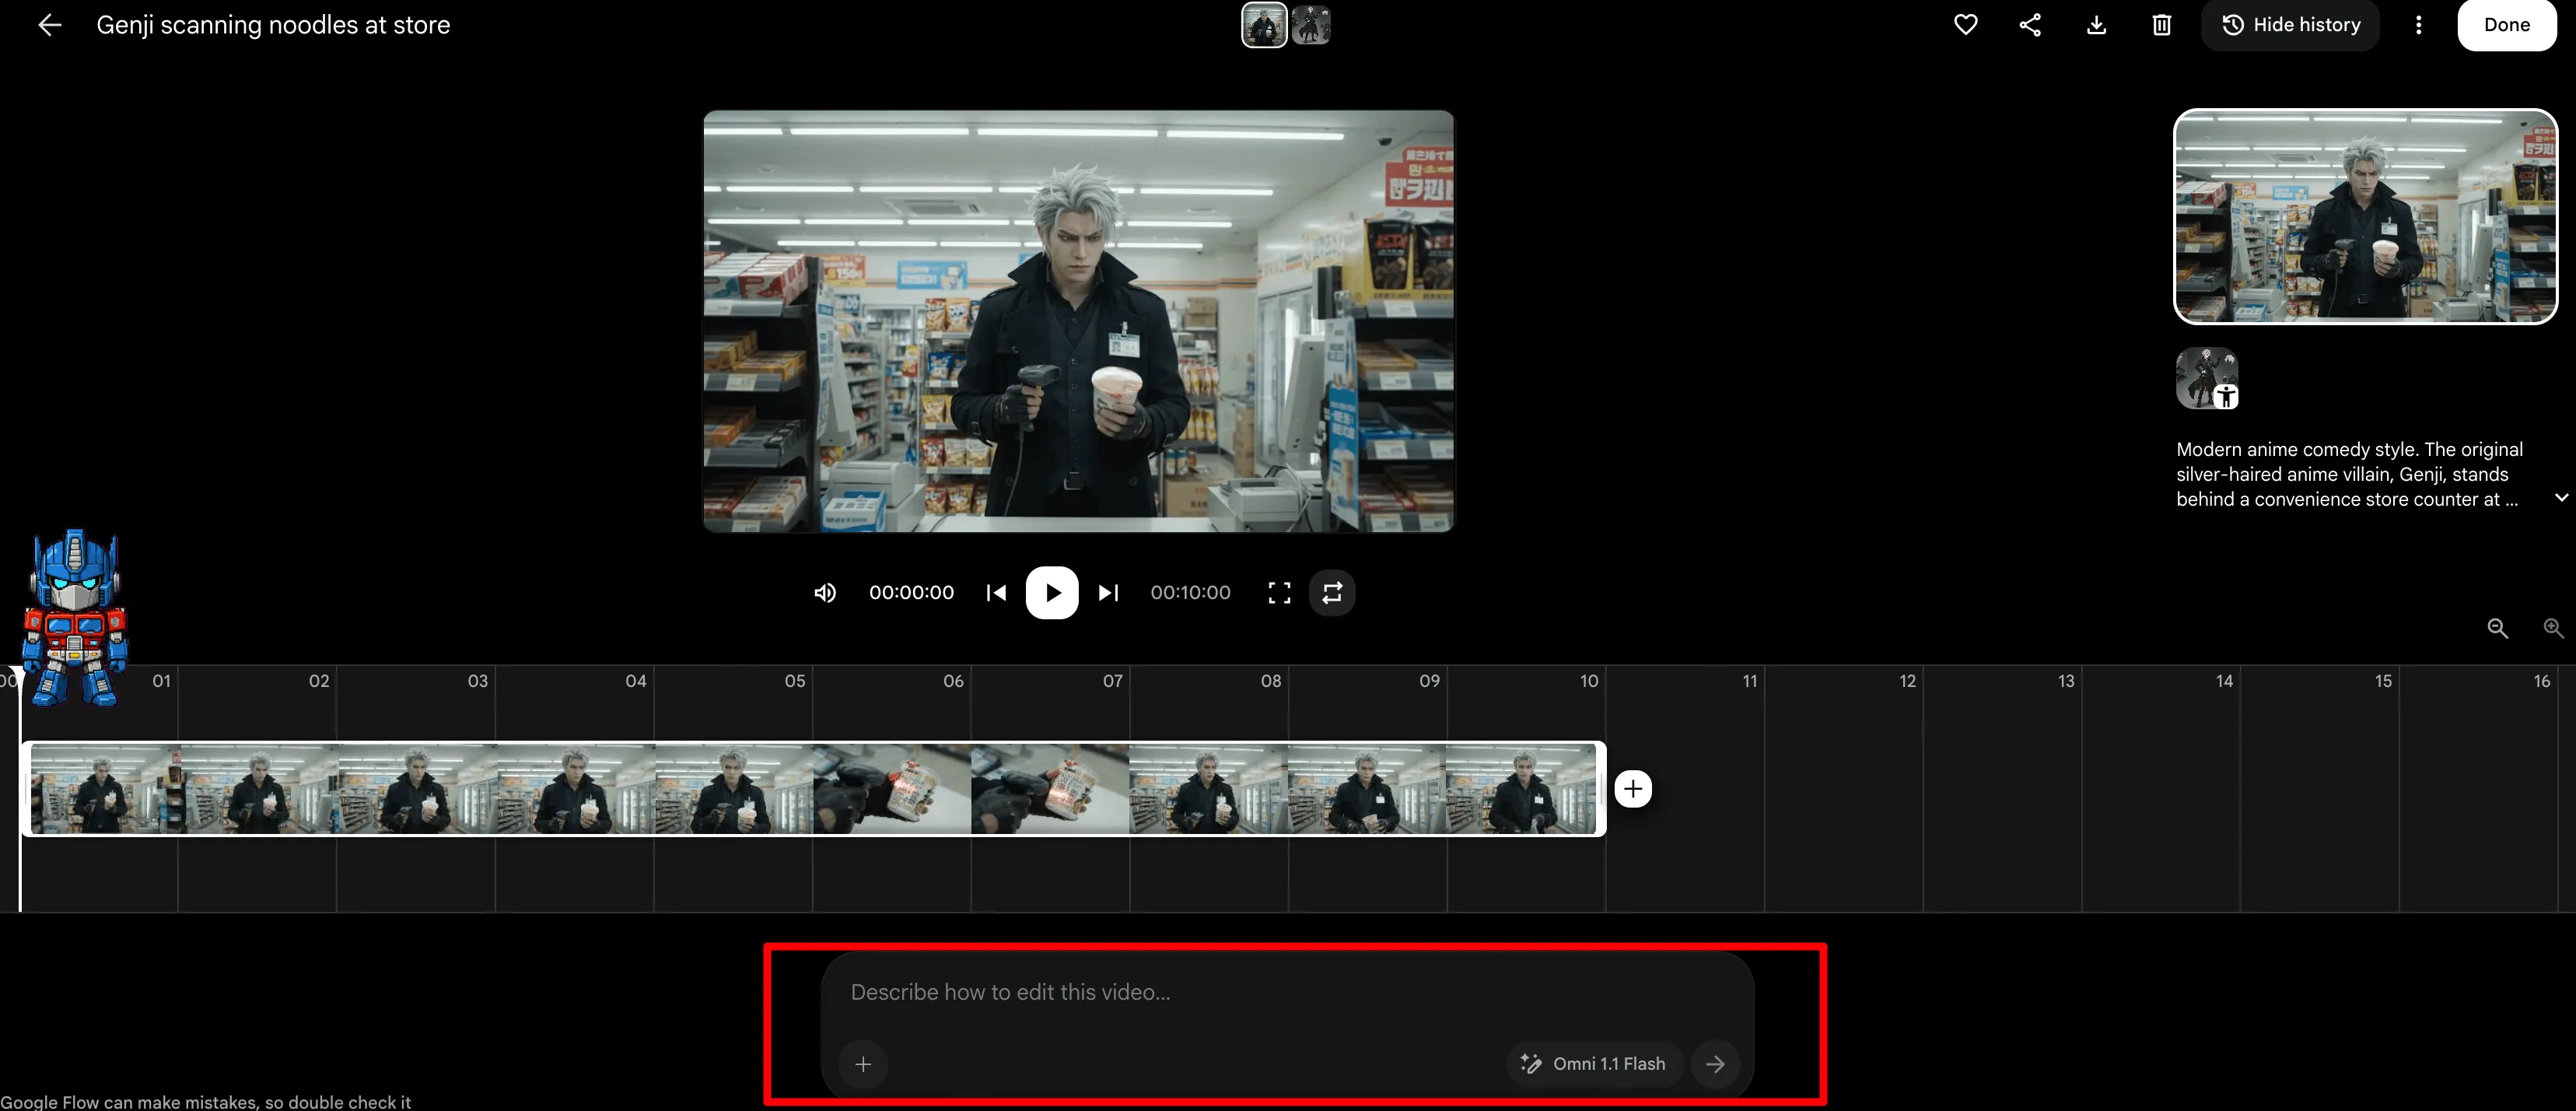
Review the result like a calm little director. Do not judge only by whether it looks cool. Check whether it did the job you asked for.
Use this quick review list:
- Character: does the face, hair, and outfit still match?
- Action: did the character perform the single action clearly?
- Style: does it still look anime, not semi-random 3D plastic?
- Camera: is the movement smooth enough?
- Social readability: would someone understand it on a phone in two seconds?
If the clip is almost good, use the AI edit box for a small change. For example:
If the character changed too much, go back to the original prompt, add the character reference again, and make the motion simpler. Most beginner problems come from asking for too much movement too early.
At this point, your first AI anime video is already done. If you want a longer short, repeat the same process for a second or third clip. Do not turn the next step into rocket science. It is just: add character, write prompt, check settings, confirm credits, generate, review.
Step 5: Export Your AI Anime Video
Export the final video in the format you need.
Use these beginner settings:
- TikTok, Shorts, Reels: 9:16 vertical.
- YouTube, blog screenshots, or desktop previews: 16:9 horizontal.
- Length: 8-20 seconds for a first short.
- Captions: keep them large, short, and away from the character's face.
- Thumbnail: choose the clearest frame, not the one where the model briefly invented a new hand philosophy.
If you are posting to short-form platforms, add captions or a tiny joke. Anime visuals pull people in, but the caption often gets the rewatch.
Caption ideas:
- When the villain has a night shift
- Bro scanned noodles like a final boss
- This convenience store has lore now
- Minimum wage villain arc
- He lost the battle but kept the job
A Better Workflow to Make AI Anime with SoulVid
Google Flow is great for generating the clip itself, especially when you already know the character, the action, and the scene. But as AI video creators quickly learn, different video models are good at different things. Seedance-style models can be strong for AI animation, while newer models such as MiniMax Hailuo can be impressive for live-action music videos and commercial-looking clips. On Google's platform, you are mainly working inside Google's own model ecosystem, so the model choice is more limited.
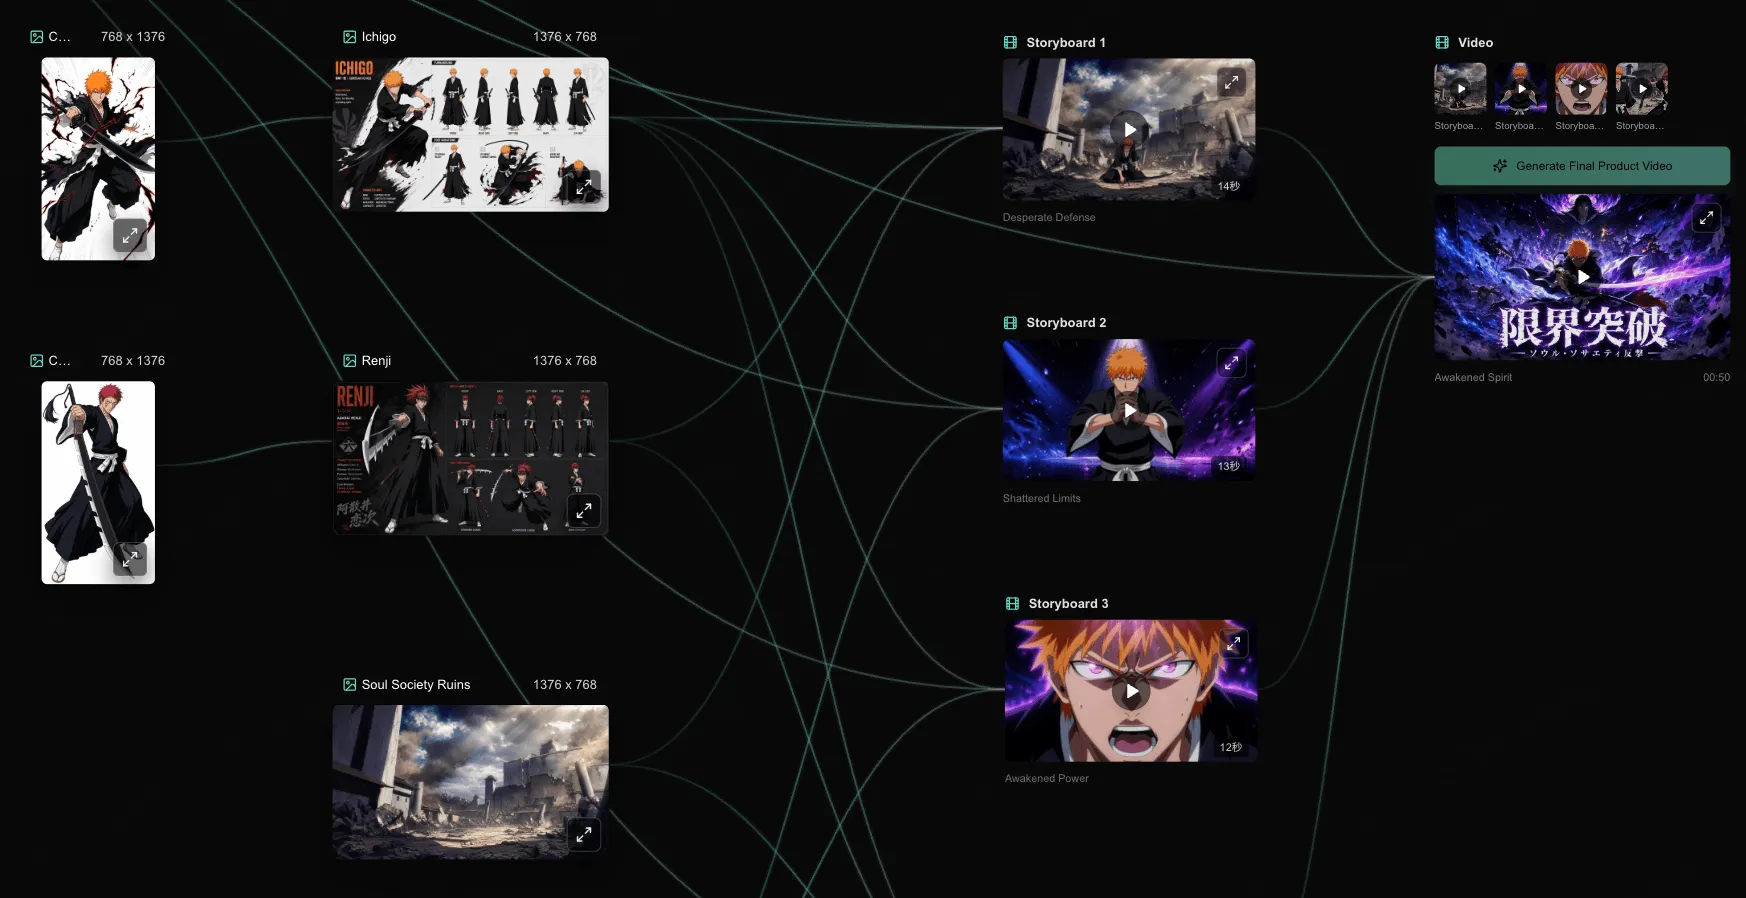
If you want a Google Flow-like workflow while still being able to use video models from different providers, SoulVid is a better fit. Use SoulVid to plan the character direction, visual style, story beats, music structure, and storyboard first, then generate scenes with a clearer brief. Instead of prompting random clips one by one, you build the anime video around a connected structure, which is especially useful for AI anime MVs, AI animation, manga-style short dramas, character edits, and funny anime-style Shorts.
Tips for Making Your AI Anime Video Look Better
Use these tips before spending more credits. They are small, but they save a lot of "why does my character have three sleeves now" energy.
- Start with one character: multiple characters make identity and motion harder.
- Use one style phrase repeatedly: for example, "modern hand-drawn anime style, soft cel shading, cinematic lighting."
- Keep the background simple: a bedroom, alley, classroom, rooftop, or store is easier than a packed battlefield.
- Write one action per clip: walking, turning, blinking, looking up, reaching out, sitting down.
- Control the camera: "gentle push-in" is clearer than "epic cinematic camera doing cool stuff."
- Save your best prompts: do not trust your memory after five generations. Your memory is a dramatic unreliable narrator.
- Make vertical videos intentionally: leave space for captions and avoid placing faces at the very bottom of the frame.
- Review before extending: do not extend a clip with broken hands, strange eyes, or a drifting outfit. That just gives the problem more screen time.
For character-heavy projects, you can also read our guide on how to keep AI characters consistent in video. Character consistency is the difference between "nice anime short" and "why did my hero become their cousin."
Frequently Asked Questions
Can I make AI anime for free with Google Flow?
What is the easiest Google Flow anime prompt for beginners?
Should I use text prompts, frames, or references?
Why does my AI anime character keep changing?
Can I make a full anime episode with Google Flow?
Can I use copyrighted anime characters?
Is Google Flow better than SoulVid for AI anime?
Conclusion
The easiest way to make AI anime for free with Google Flow is not to chase a giant masterpiece on day one. Start with one original character, one anime style, one simple action, and one short scene. Add the character in Flow, choose the right settings, write a focused prompt, confirm the credit cost, and generate the first clip.
That is the real beginner loop: character, scene, settings, prompt, approval, preview, edit. Once you understand it, you can repeat the same process for a second scene, a short anime joke, a music-video hook, or a small story test.
Google Flow is a solid place to try a quick scene inside Google's model ecosystem. If you later want a more flexible workflow with more model choices, stronger storyboard planning, and a smoother path for AI anime MVs, AI animation, or manga-style short dramas, SoulVid is worth trying next.